
I absolutely love word art as home decor. It’s my favorite crafting hobby after air dry clay.
However, I don’t love being limited to the decorative word signs available to buy. So I created an easy, inexpensive method to make cursive wire letter signs that I can customize for different rooms, seasons, and occasions.
One of my favorite ways to use wire word art is for Christmas (or Valentine’s Day). These handmade pieces look beautiful on a tree and are perfect for dressing up a basic store-bought wreath. Read on to learn how to make a twinkle-light version and other finishes.
I’ll teach you how to form words from wire and share several finishing options. The example shown here is a “Welcome” sign, ideal for a holiday wreath or seasonal display.
Like it? Pin it!

How to Make DIY Wire Word Signs
This simple DIY uses a printed template to guide your wire, which you then wrap in the material of your choice.
The method is very flexible. I’ve made versions wrapped in jute, faux neon glow-in-the-dark signs, and twinkle-light signs. Below I explain materials, step-by-step instructions, and finishing ideas.
Materials Needed
- Armature wire
- Scotch tape
- Needlenose pliers (optional but helpful)
- Wire snips
- Glue gun
- Jute twine (or other finishing material)
- Welcome sign template (or a template for your chosen word)
Video Tutorial – DIY Wired Signs
A video tutorial is available showing the full process and different finishing ideas. If you prefer visual instruction, search for related wired word sign tutorials on craft channels.
Click here to subscribe to my YouTube channel for more videos.
Step 1: Print your sign template
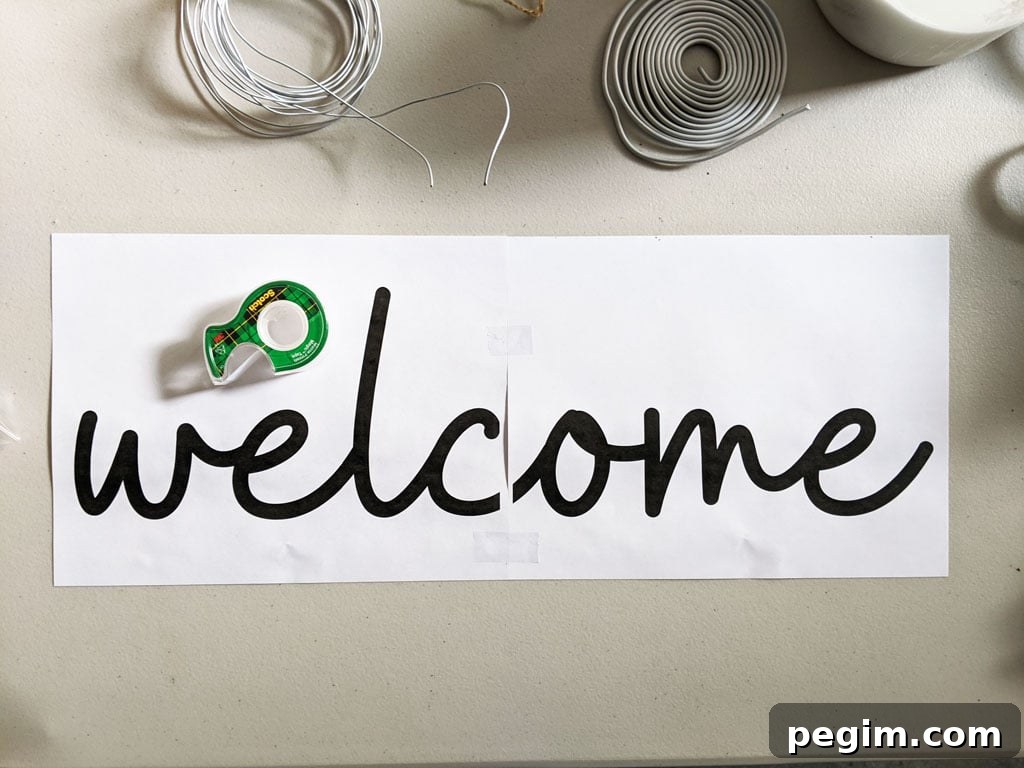
Type the word or phrase you want to make, choose a script font with consistent line thickness, adjust the size, and print it out. I use a design program to enlarge the word and print it across multiple pages.
If you don’t have design software, use a printable template sized for standard pages. Tape the printed sheets together and secure the whole template to your work surface. Gaps at page edges are fine—this is only a guide for shaping the wire.
Tip: Use a script font with even stroke width for best results.
Step 2: Guide the wire along your template
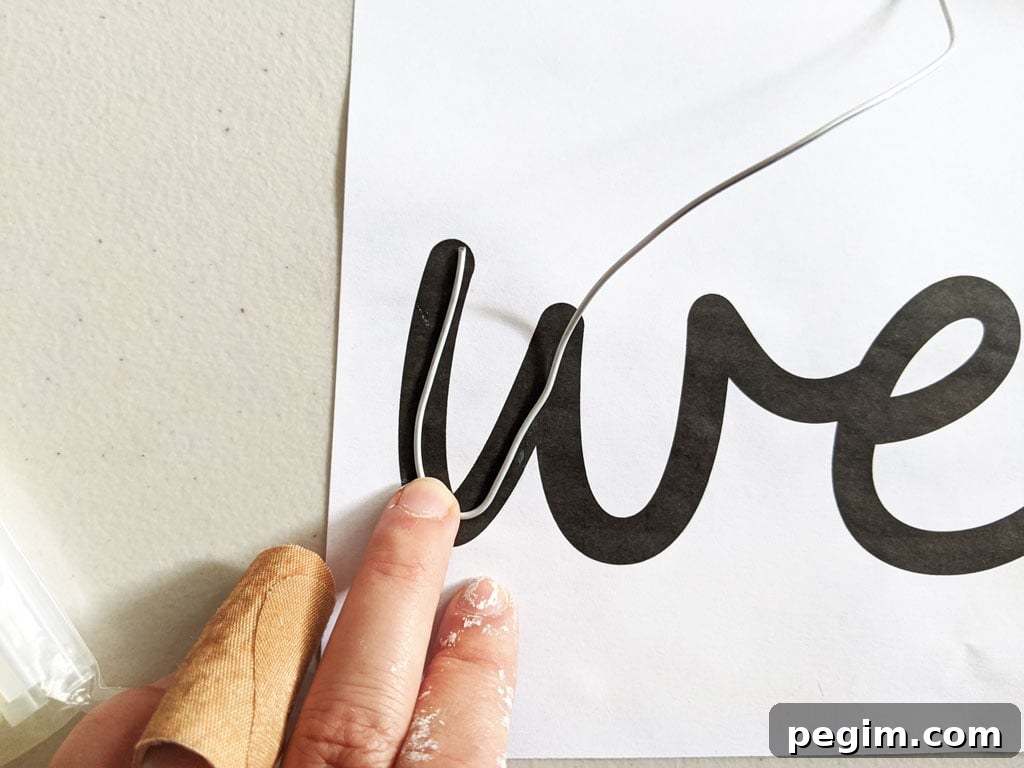
Starting on the left, bend the armature wire to follow the printed template. Armature wire is easy to shape, making tracing straightforward.
Don’t worry if the wire doesn’t lie perfectly flat or pops off the page occasionally. Wire bending is forgiving; small inconsistencies will be hidden once the piece is wrapped.
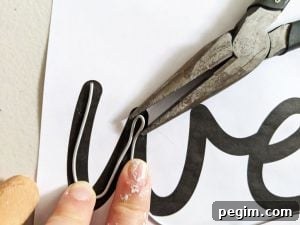
Use needlenose pliers for sharp turns. For letters that require doubling the wire back, squeeze a tight point with pliers and guide the wire back along itself. Keep doubled sections close together—the wrapping will smooth and hide the joint.
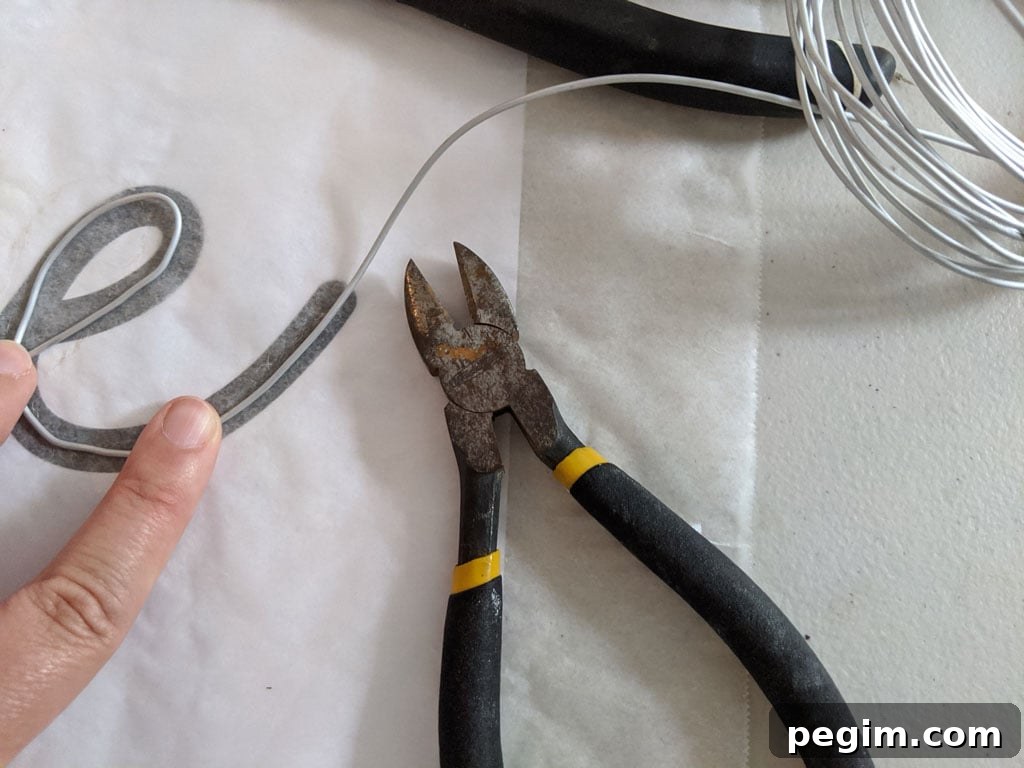
When you reach the end of the word, cut the wire with snips. Scissors can damage their blades, so use proper wire cutters when possible.
Step 3: Wrap your wire word sign in jute (or material of choice)
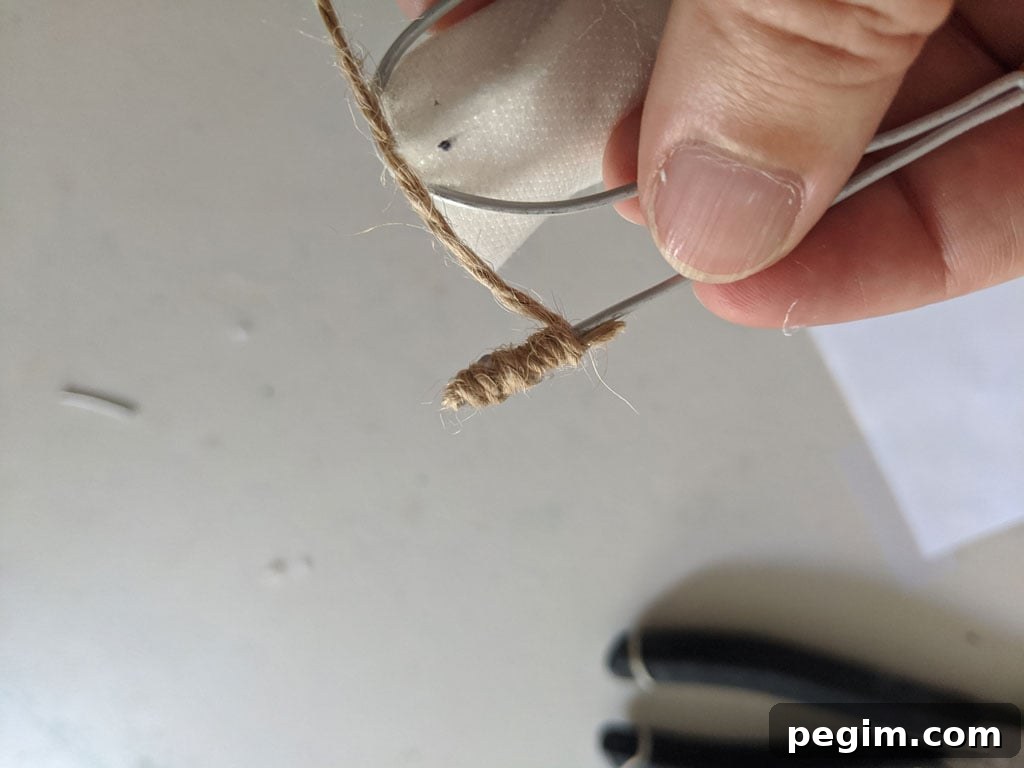
Begin with a small dab of hot glue, then wrap the wire tightly with jute or your chosen material. For a neat start, glue a short tail of twine along the wire with the long end pointing toward the letter tip, then wrap the twine back onto itself to secure the start.
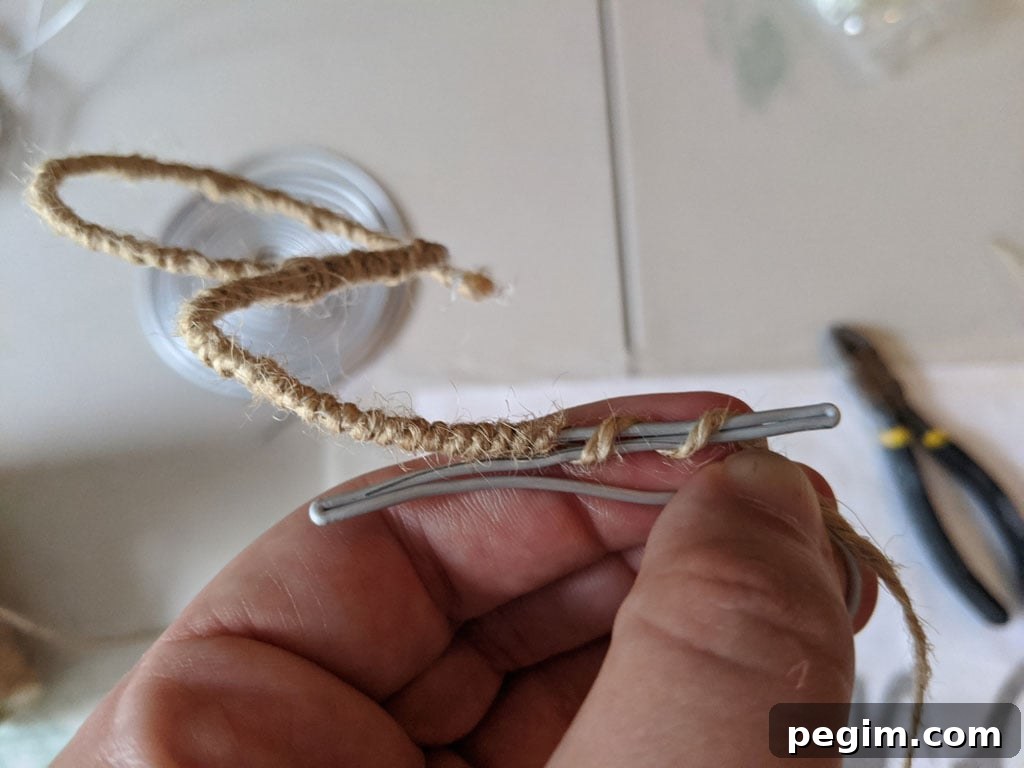
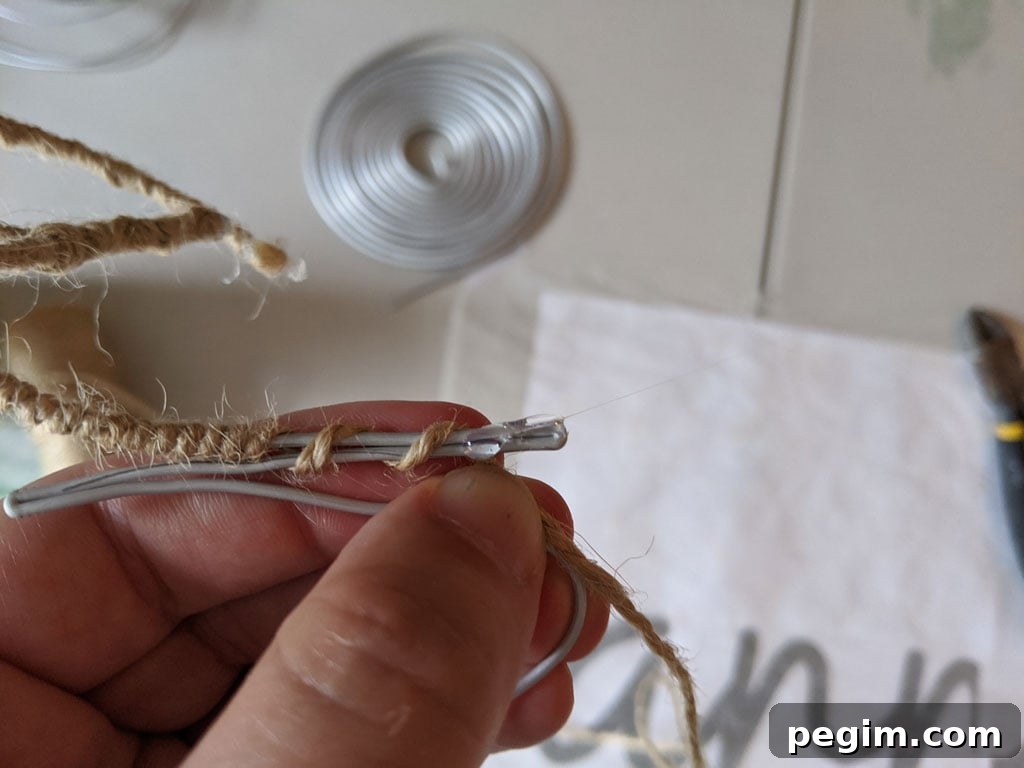
When you reach the tip of a letter that doesn’t continue into the next stroke, add a thin line of glue to the wire and wrap slightly spaced turns to the very end. Then quickly double back with tight wraps while the glue is still tacky to maintain a slim profile.
If a loop is too small for the twine spool to pass through, pull a long strand from the ball and thread that through. If a strand runs out, glue the end to the wire and continue with a new strand.
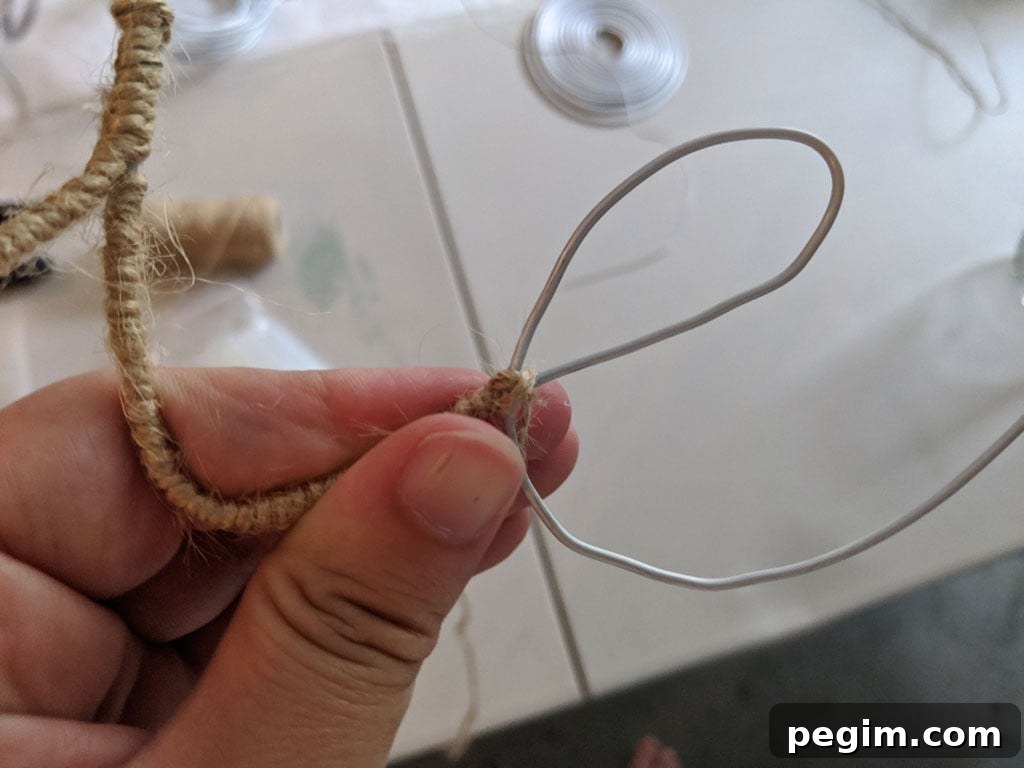
For letters that cross themselves, such as “e,” reinforce the intersection with an X-wrap: one pass top to bottom and one left to right. Add small dots of glue at transition points if wrapping feels loose.
Finish by securing the final end of the twine with glue and trimming the excess. In many cases the entire sign will be tightly wrapped and secure without extra adhesive.

And you’re done!
This particular sign took about 20 minutes. Expect longer words and more intricate fonts to take more time. The method remains quick and satisfying for most projects.
Finishing Material Ideas for Wired Word Signs
- Chunky yarn
- Battery-operated fairy lights or twinkle lights
- Glow-in-the-dark paint or materials for a faux neon look
- Ribbon
- Fabric strips
- Gimp or piping cord
- Embroidery floss
- Thin leather strips
Embellish any finish with small flowers, felt balls, beads, or greenery to match the season or room decor. I’ve made glow-in-the-dark kid-friendly signs and fairy-light versions for cozy reading nooks.
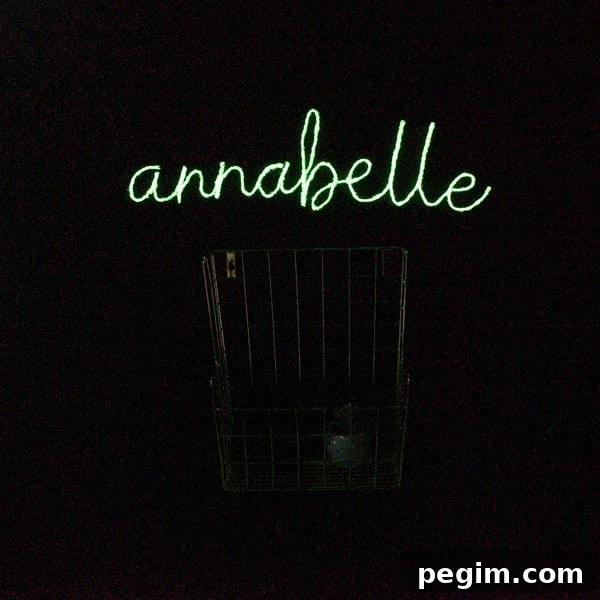
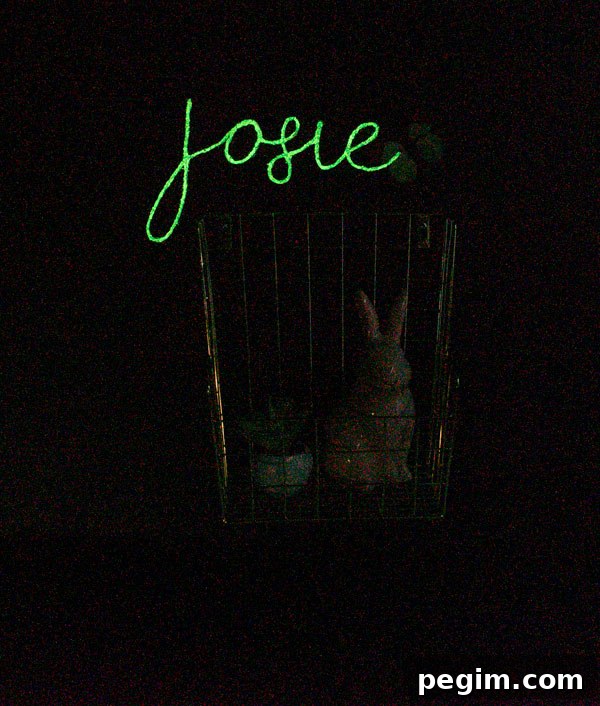
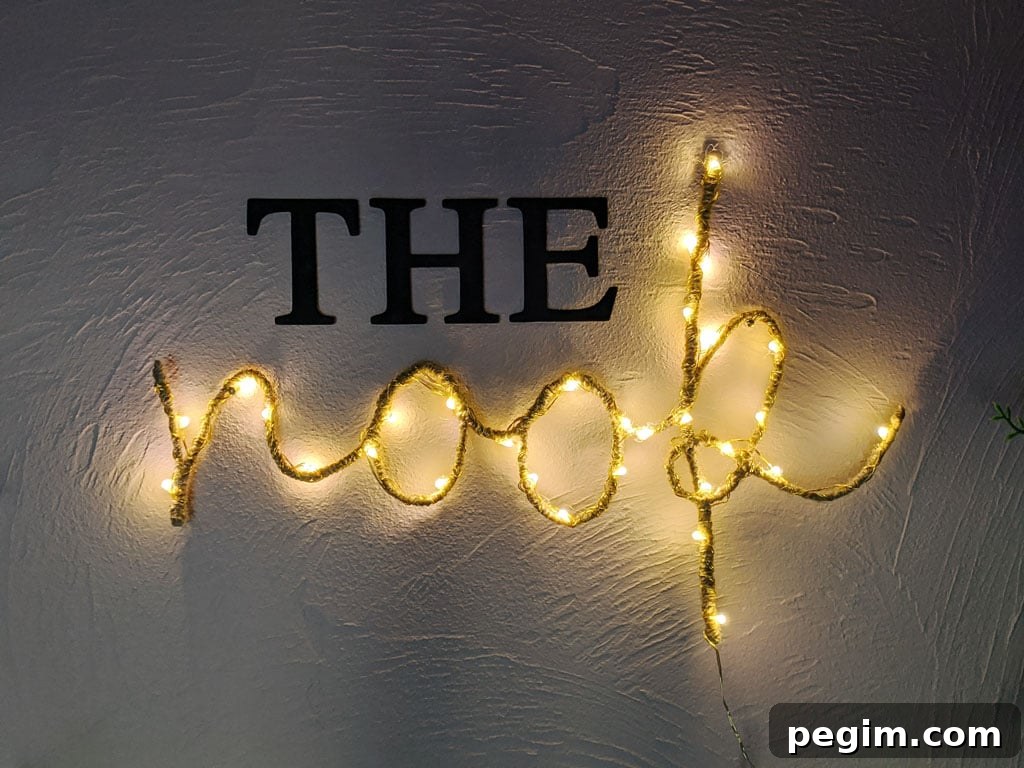
To make a twinkle-light sign, finish the wrapping then wind battery-operated fairy lights around the form. The light wire usually holds in place; glue is optional.
Ways to Decorate With a Wire Word Sign
Wire word signs are lightweight, inexpensive, and versatile. Here are ideas beyond hanging on a wall:
- Hang them on a Christmas tree as ornaments
- Rest them on a mantel or shelf
- Use them as gift toppers
- Create instructive entryway signs (for example, “shoes off”)
- Place one in the center of a wreath
- Hang it on a front door or interior door
These signs are ideal for seasonal decor because you can change the finishing material to match holidays, celebrations, or room themes.