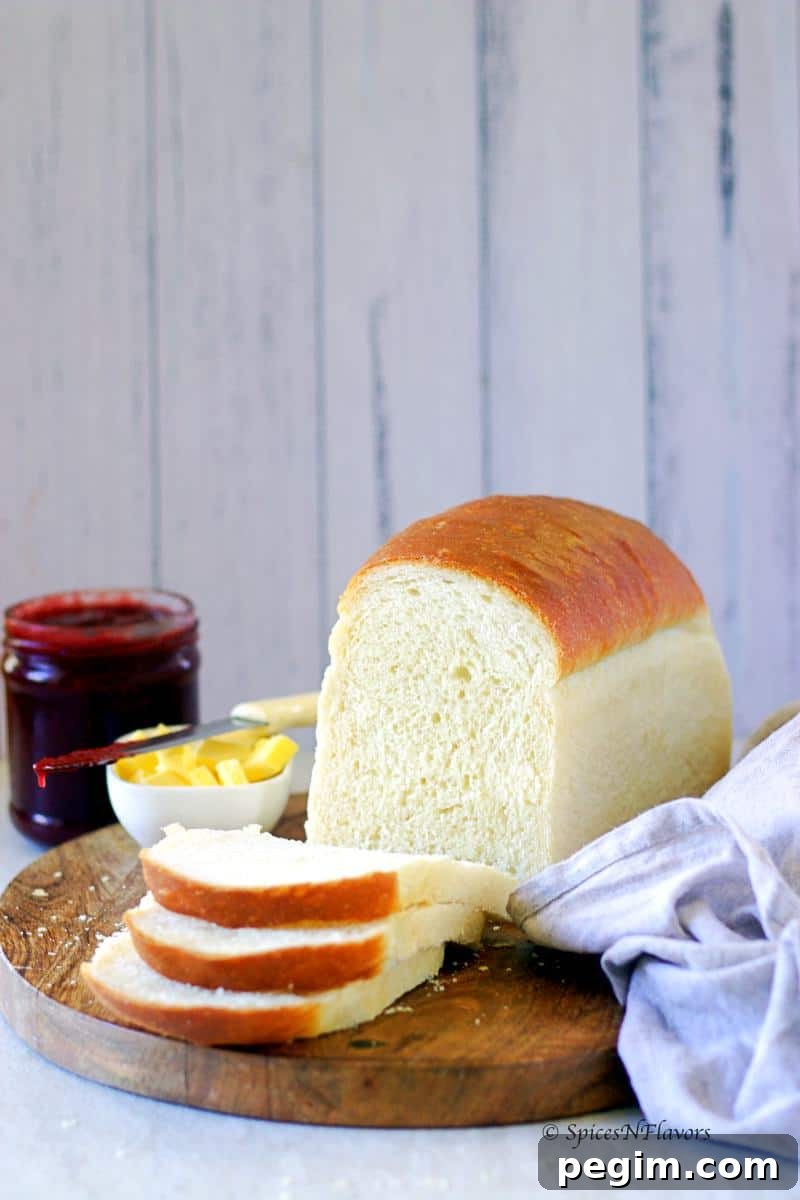
This homemade white bread recipe yields a tall, soft, light, and tender loaf — ideal for sandwiches, toast, or simply slathered with butter and jam. It uses basic pantry ingredients and five straightforward steps to make a classic sandwich loaf at home in about two hours.
A Basic Recipe to Note Down
With limited trips outside, having a handful of reliable, easy recipes is helpful. This sandwich bread is one I recommend you try now. It’s a classic white loaf: soft, fluffy, and bakery-like, yet made with simple ingredients and basic techniques. Use it for breakfast toast, school lunches, sandwiches, dunking in soup, or as a dinner side. Leftovers also make excellent croutons.
How to Make Basic Bread at Home from Scratch
Step 1: Prepare the Dough
How to Make the Bread by Hand
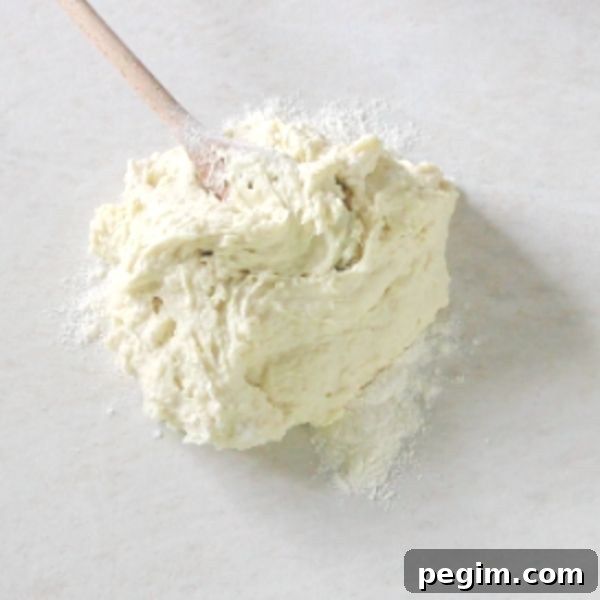
In a bowl, combine the warm water, yeast, and sugar. Stir to dissolve the yeast. Add the milk powder, salt, and three cups of all-purpose flour. Mix until there is no visible dry flour, then turn the mixture out onto a floured work surface and begin kneading.
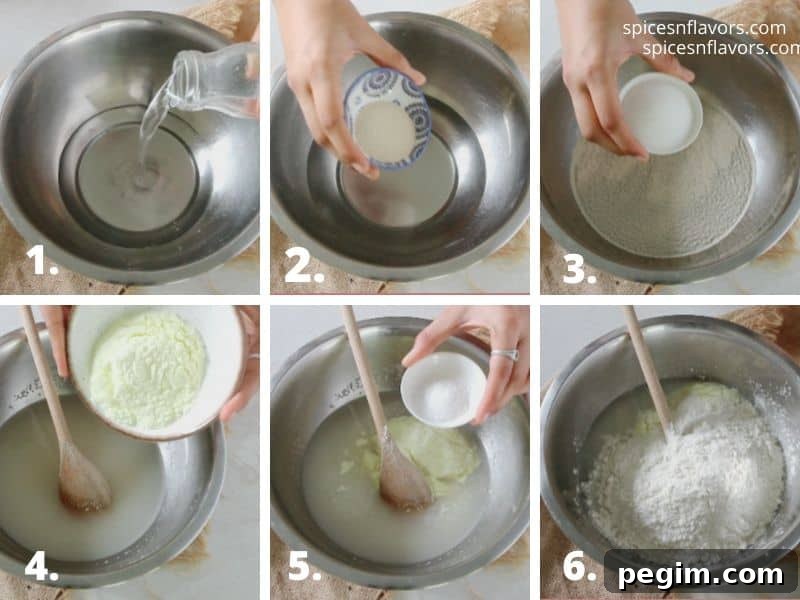
The dough will be sticky at first — that’s normal. Dust your hands and the surface with a little flour and knead, adding up to 1/4 cup of flour at a time until the dough stops sticking excessively to your hands. Once it becomes less tacky, add the oil and continue kneading until the dough is smooth, elastic, and slightly tacky. This stage typically takes 15–18 minutes by hand.
Kneading in a Stand Mixer
The process is the same in a stand mixer. Combine the water, yeast, and sugar; stir to dissolve. Add 3 cups flour, milk powder, and salt. Mix with the dough hook, adding 1/4 cup flour at a time until the dough clears the bowl sides. Add the oil and mix on medium speed for another 6–8 minutes until the dough is smooth, elastic, and slightly tacky.
Note: Flour amounts are a guideline. Exact flour needed varies with measurement method, humidity, and temperature. Add flour gradually until the desired dough consistency is reached.
Step 2: First Proofing
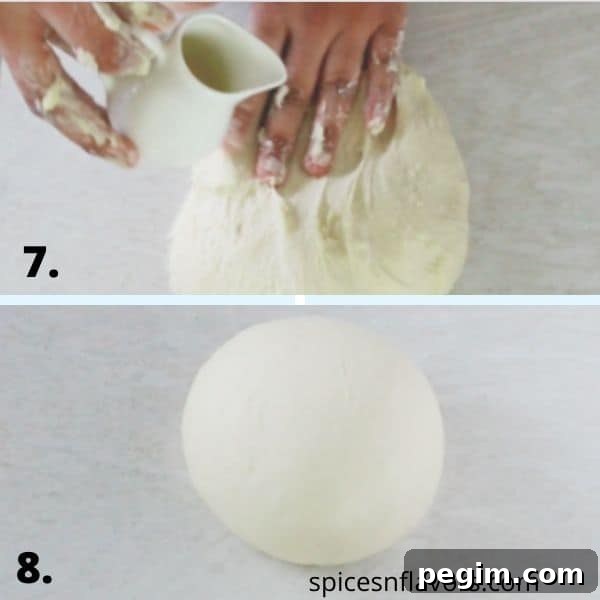
Place the kneaded dough in a lightly oiled bowl and coat the dough’s surface with a little oil as well. Cover the bowl and allow the dough to proof on the countertop until it doubles in size — about 1 hour.
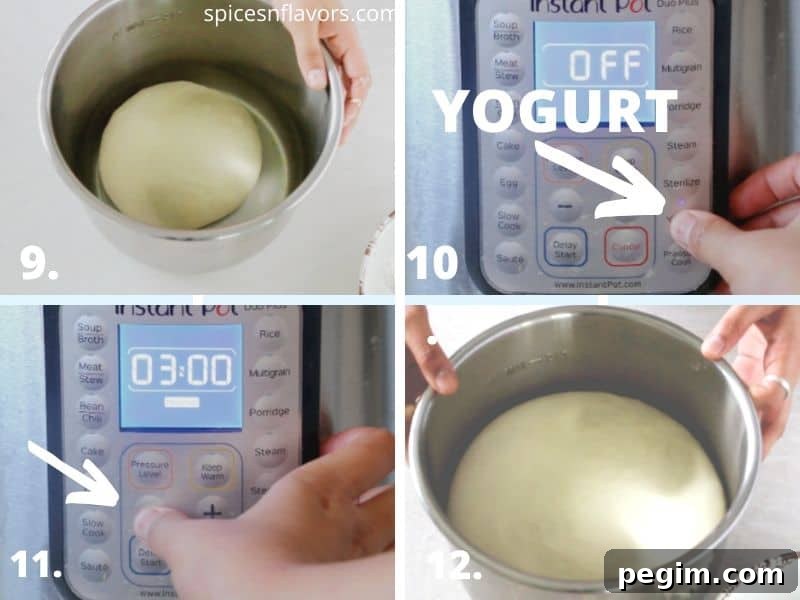
Tip: If you prefer using an appliance for proofing, a warm setting like a yogurt or proof function often speeds this step. When using a closed warm environment, the first proof can be shortened to about 30 minutes.
Proofing on the countertop: 1 hour. Proofing in a warm enclosed appliance: about 30 minutes.
Step 3: Shaping the Dough
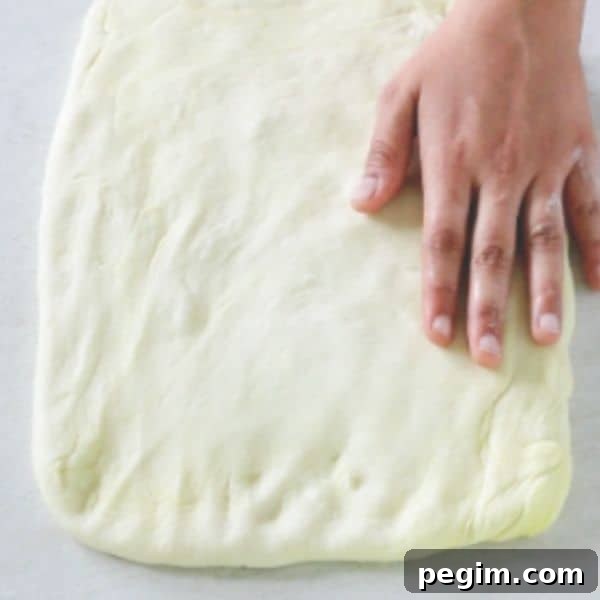
After the first rise, gently deflate the dough to remove large air pockets and transfer it to a floured countertop. Shape the dough into a rectangle sized to fit your loaf pan. Fold it into thirds, pinch the seams tightly, bring the edges to the center, and roll the dough into a log. Place it seam-side down into a greased 9×5-inch pan (or 8.5×4.5-inch if preferred).
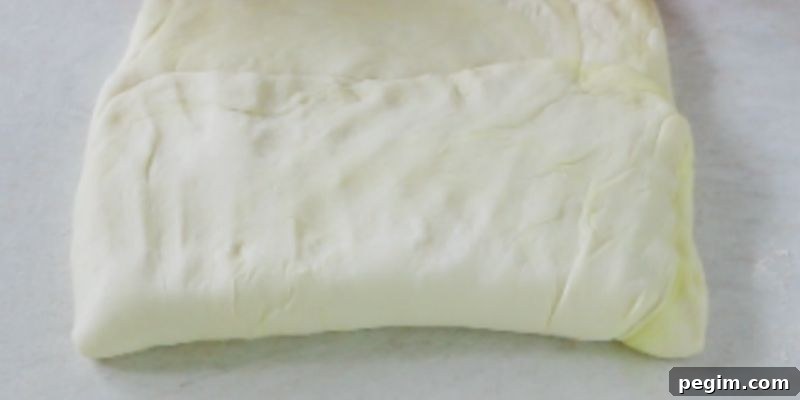
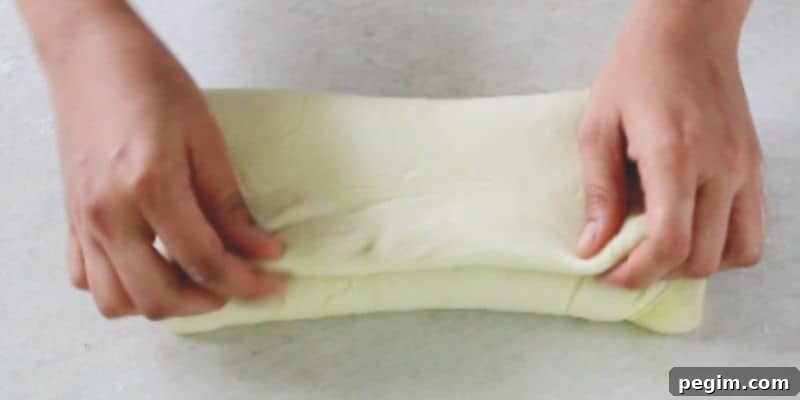
Loosely cover the pan and allow the dough to proof a second time until it reaches roughly the brim of the pan — about 30 minutes. Under-proofed dough will produce a denser, smaller loaf with a pronounced yeasty aroma; over-proofed dough will collapse.
Second proofing: 30 minutes.
How to Check If the Dough Has Risen Enough
The dough will show a gentle dome and the sides will appear full. Press lightly with an index finger — a proper rise leaves a small indentation that holds. If the dough springs back completely, it needs more time. If it collapses, it is over-proofed.
Step 4: Baking the Bread
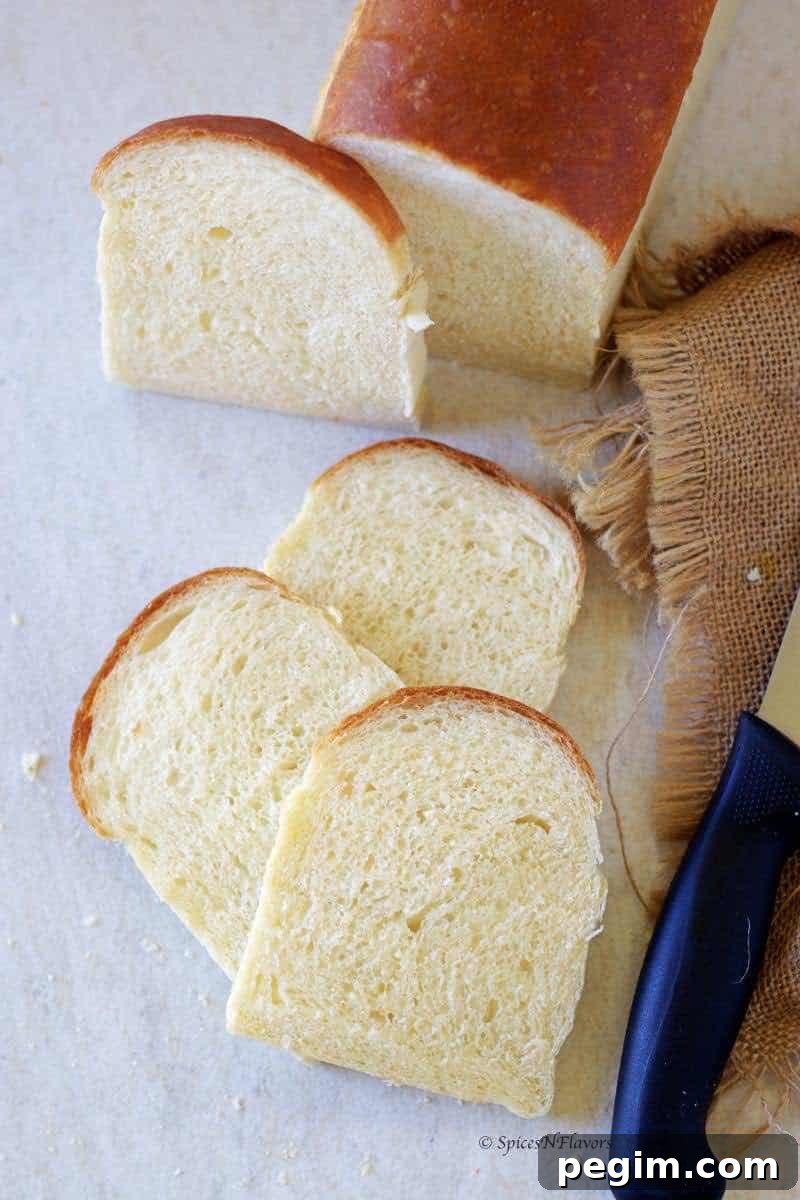
Preheat the oven to 350°F (180°C). Bake the loaf for 30–35 minutes until golden brown. A finished loaf sounds hollow when you tap the bottom, or a thermometer reads 195°F (90–92°C) internal temperature. After removing from the oven, brush the top with butter if you prefer a softer crust. Let the loaf rest in the pan for 5–10 minutes, then turn it out onto a wire rack to cool completely. Leaving the bread too long in the pan can trap condensation and make the bottom soggy.
Top Tips for Best Homemade Bread
- Measure flour carefully and add gradually — the listed amount is a guideline.
- Good gluten development from proper kneading yields a soft, airy crumb. If unsure, knead longer or refer to photos showing dough stages.
- Pick a loaf pan that matches the desired loaf shape; a 9×5-inch pan gives a tall sandwich loaf.
- Always keep dough covered during proofing to prevent drying and a thick crust forming.
- Preheat the oven, prepare the pan with oil or butter, and avoid leaving the cooled loaf in the pan for long to prevent sogginess.
Choosing the Right Bread Pan
The pan determines the loaf’s final size. Shape the dough to fit your pan. A 9×5-inch pan produces a generous sandwich loaf; an 8.5×4.5-inch pan will yield a slightly taller loaf with less width. Useful tools include a bench scraper and a clean kitchen towel for covering dough during rest and proofing.

How to Store Bread
Homemade bread lacks preservatives, so it won’t last as long as store-bought loaves. Store at room temperature in a bread bag or airtight container for 2–3 days. For longer storage, slice and freeze for up to a month. Avoid refrigerating the bread, as refrigeration accelerates staling and dries the crumb.

This loaf is versatile: use it for sandwiches, toast, or simply with butter and jam. It also makes excellent grilled sandwiches and French toast.
Related Recipes
- Instant Pot no-knead bread
- Super-soft no-knead white loaf
- Homemade bagels
- Tiger bread rolls
Join the baking community and share your bakes — tag photos of your bread to connect with other bakers and compare techniques and results.
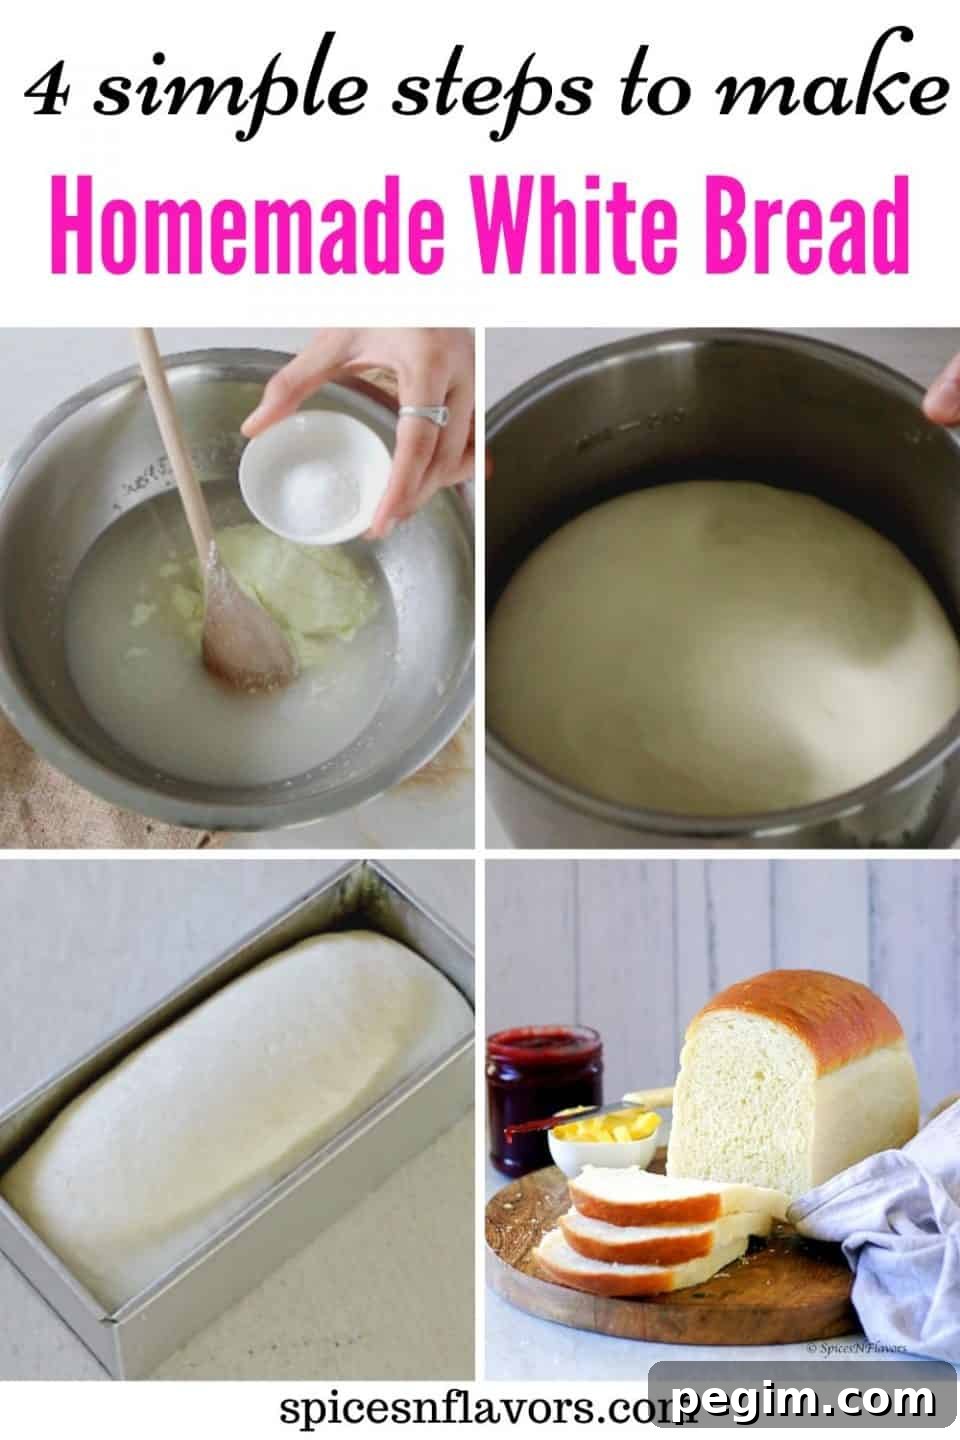
White Bread Recipe from Scratch
White Bread Recipe in 5 Simple Steps
Ingredients
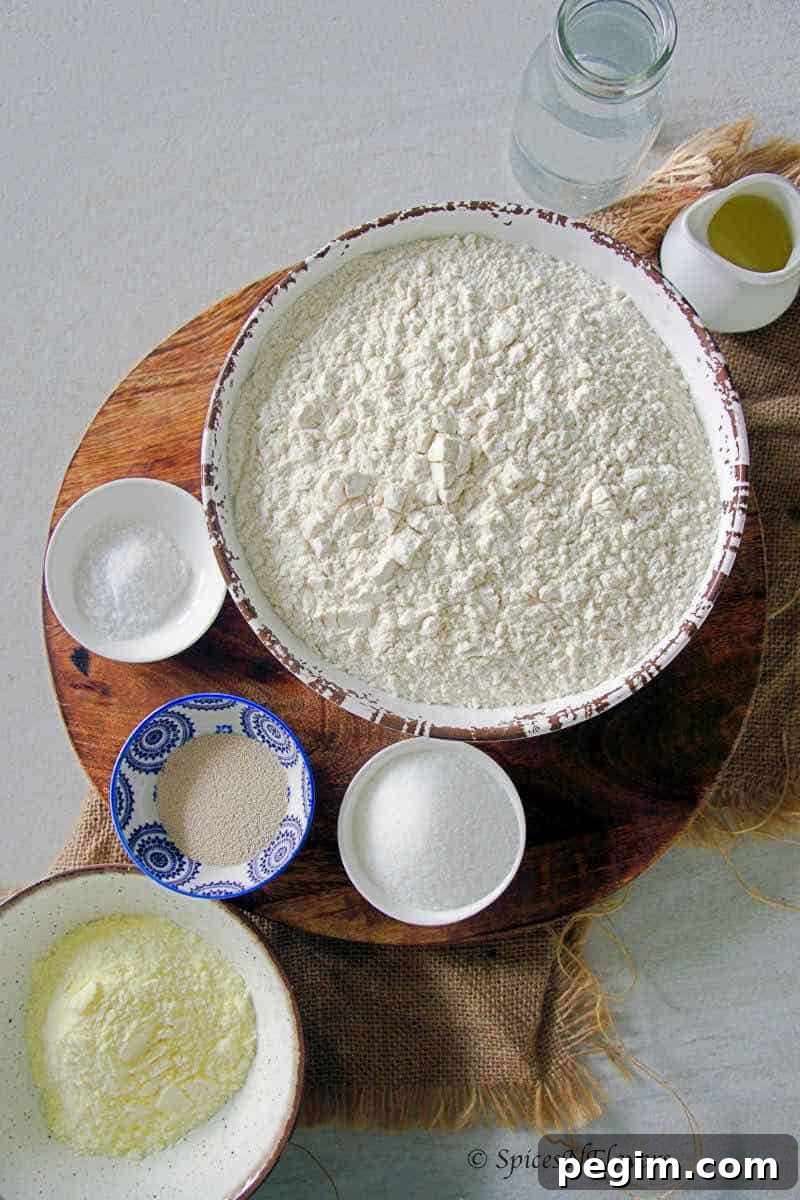
- 3–4 1/2 cups (approx 500 g) all-purpose flour
- 1 1/4 tsp (7 g) salt
- 2 tbsp (40 g) sugar
- 2 tsp (8 g) instant yeast
- 1 1/4 cup (300 ml) warm water
- 2 tbsp (30 ml) oil
- 1/2 cup (50 g) milk powder (optional)
Instructions
Step 1 – Prepare the Dough
- Combine warm water, yeast, and sugar in a bowl and stir to dissolve the yeast.
- Add milk powder (if using), salt, and 3 cups of flour. Mix until no dry flour remains.
- Turn the shaggy dough onto a floured surface and knead, adding flour a little at a time until it becomes less sticky.
- Add the oil and knead until the dough is soft, elastic, and slightly tacky (about 15–18 minutes by hand).
Stand Mixer Method
- Place water, yeast, and sugar in the mixer bowl. Add flour, milk powder, and salt.
- Mix and add flour 1/4 cup at a time until the dough cleans the bowl sides. Add oil and mix 6–8 minutes until smooth.
Step 2 – First Proofing
- Transfer the dough to a greased bowl, coat the surface with oil, cover, and proof until doubled (about 1 hour).
Step 3 – Shaping and Second Proofing
- Punch down the dough, shape into a rectangle, fold into thirds, pinch seams, and roll into a log.
- Place seam-side down in a greased 9×5-inch pan, cover loosely, and proof until the dough reaches the pan brim (about 30 minutes).
Step 4 – Baking
- Preheat oven to 350°F (180°C). Bake the loaf for 30–35 minutes until golden and hollow-sounding, or until internal temperature reads 195°F.
- Brush the top with butter if desired, cool in the pan for 5–10 minutes, then transfer to a wire rack to cool completely before slicing.
Notes
- The recipe can be doubled to make two loaves.
- Always add flour gradually; the amount needed can vary with climate and flour type.
- If using active dry yeast instead of instant yeast, activate it first in warm water with a pinch of sugar.
- Keep dough covered at all times during proofing to prevent drying.
- Do not leave the baked loaf in the pan too long to avoid a soggy base from condensation.
- Milk powder is optional; it enriches the crumb but can be omitted if unavailable.
Conclusion
Learning a few basic bread and baking recipes is useful year-round. This white sandwich loaf is dependable, simple, and rewarding. In about two hours you can have a fragrant, home-baked bread that makes sandwiches, toast, and snacks more enjoyable. Try it, adjust to your climate and equipment, and enjoy the comfort of fresh bread from your own oven.
Hugs,
Sushma