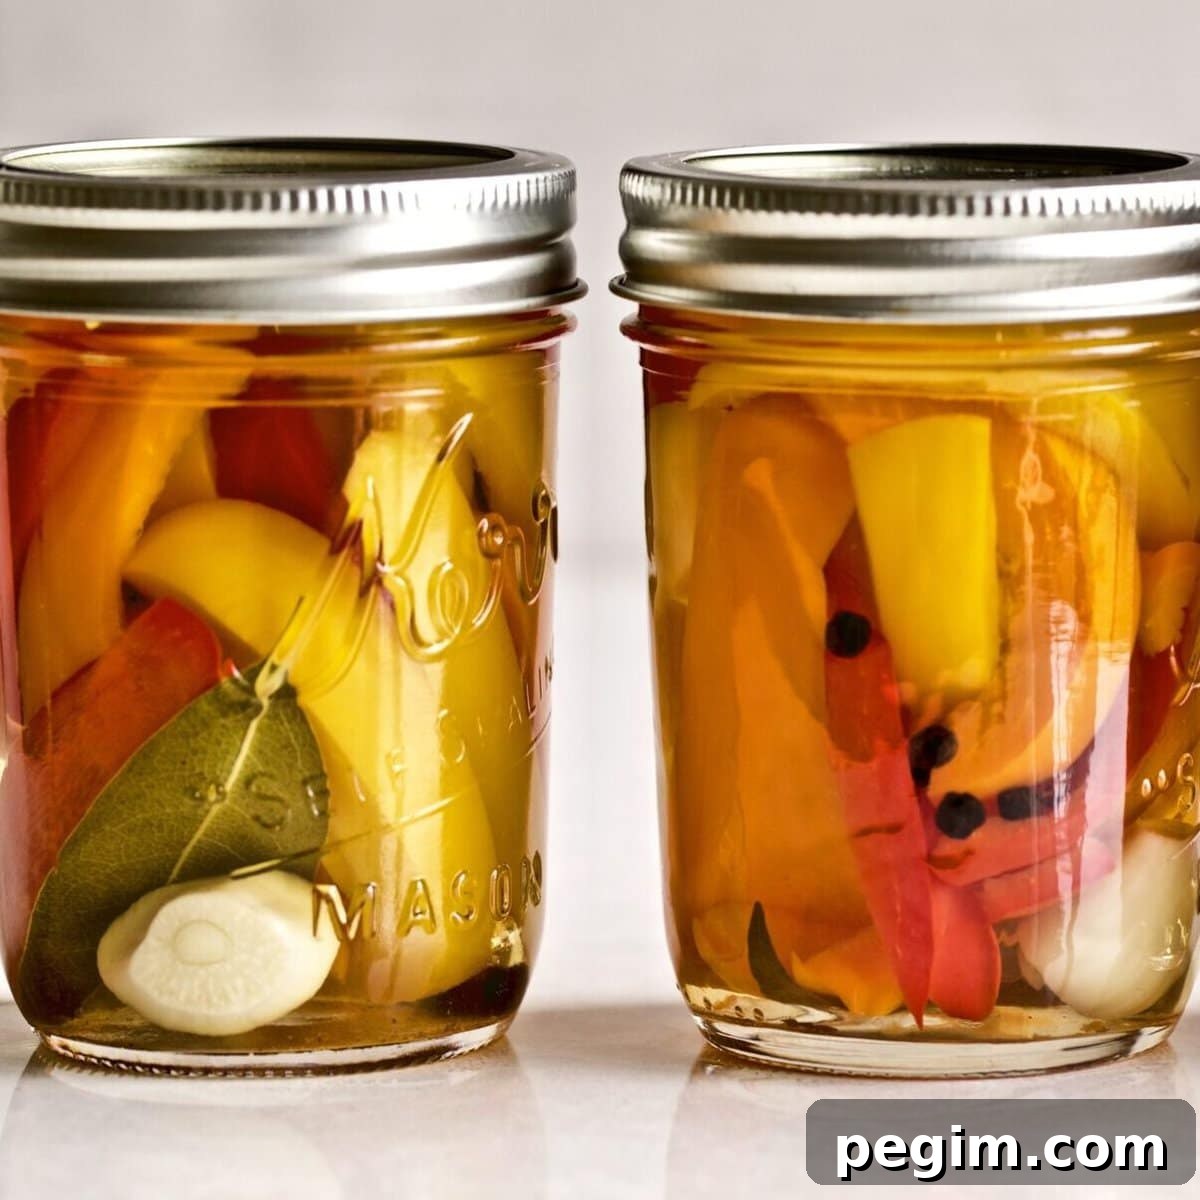
These tangy, crunchy Italian pickled peppers (in Italian, peperoni sotto aceto) bring bright color and lively flavor to sandwiches, pizzas, antipasti plates, and more. This straightforward recipe is a simple way to preserve summer peppers without complicated canning: just seven ingredients and about 20 minutes of hands-on prep. The result is crisp, garlicky peppers with a vibrant vinegar tang that complements many dishes.
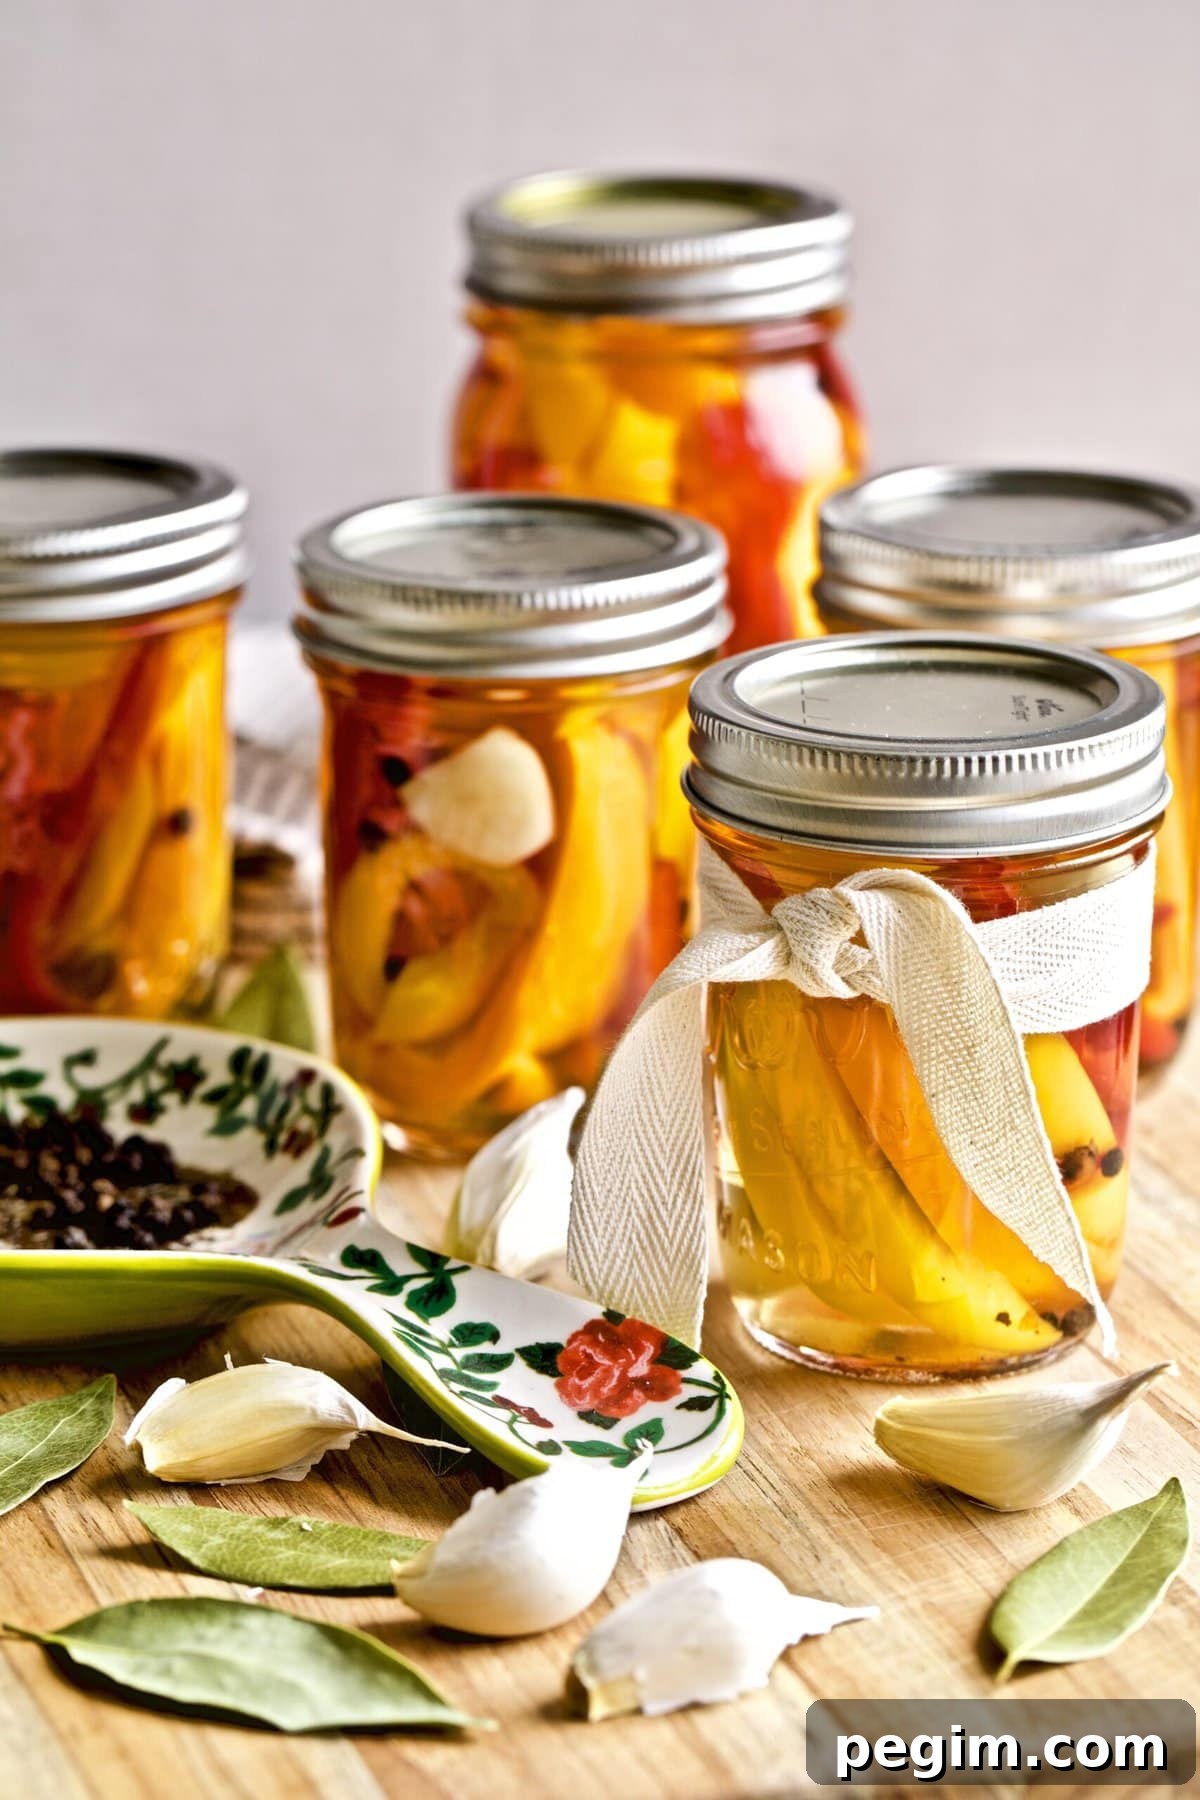

Quick Look: Italian Pickled Peppers
- Prep Time: 20 minutes
- Cook Time: 10 minutes
- Total Time: 30 minutes (not including curing time)
- Servings: makes 6 medium or 12 small jars
- Dietary Info: Vegan & Gluten Free
- Method: Stovetop
- Technique: Par‑boil peppers in a seasoned vinegar brine, dry, pack into sterilized jars with aromatics, cover with vinegar, seal and allow to cure.
- Flavor & Texture: Bright, crunchy and tangy with garlic and bay leaf depth — ideal as an appetizer or sandwich topping.
Why You’ll Love This Recipe

Full disclosure: I rarely do full-scale canning, but I’ve always loved peppers preserved the Italian way. This method is nostalgic and surprisingly easy. With minimal ingredients and a short prep, you create a pantry-ready condiment that keeps giving for weeks and months.
Once cured, these peppers add instant brightness to sandwiches, salads, charcuterie or pizza. They’re a great way to preserve the peak-season flavor of bell peppers and any other firm vegetables you want to try.
Made With Amore,

“This recipe worked super well. Thank you!”
– Rosa
Table of Contents
- Quick Look: Italian Pickled Peppers
- Why You’ll Love This Recipe
- Simple Ingredients
- Variations & Substitutions
- How to Make Italian Pickled Peppers
- Italian Pickled Peppers FAQs
- Serving Suggestions
- Expert Tips
- Other Italian Pepper Recipes You’ll Love
- Italian Pickled Peppers Recipe
Simple Ingredients
The ingredient list is short and flexible — adjust quantities and aromatics to suit your taste.
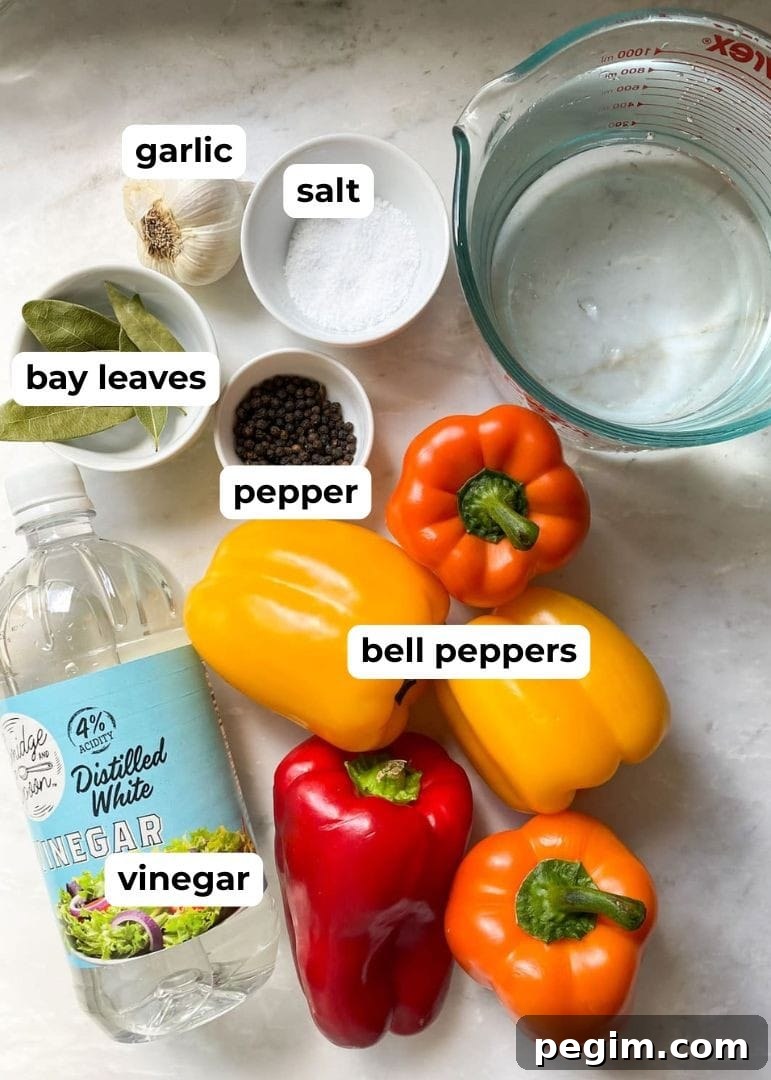
- Bell peppers: A colorful mix of red, yellow and orange peppers looks beautiful and tastes sweet. You can also include sweet banana peppers or spicier varieties if you prefer heat.
- White vinegar: Plain distilled white vinegar provides the classic bright acidity that preserves and flavors the peppers.
- Seasonings: Peeled garlic cloves, bay leaves, whole peppercorns and coarse salt add savory depth and help maintain crispness.
See the recipe card below for exact quantities.
Variations & Substitutions
- Vinegar options: Use white wine vinegar or apple cider vinegar for a slightly different flavor character.
- Spicy version: Add red pepper flakes or include hot peppers alongside sweet peppers for heat.
- Additional aromatics: Try mustard seed, celery seed, fresh oregano or a sprig of rosemary to change the flavor profile.
- Other vegetables: The sott’aceto technique works with firm vegetables such as zucchini, eggplant, carrots, onions, cucumbers, green beans or cauliflower. Precook each vegetable to an appropriate tenderness before pickling; avoid soft leafy greens and ripe tomatoes for this method.
How to Make Italian Pickled Peppers
Sterilize jars before use. A hot water bath or thoroughly washed, heated jars are recommended for best storage results.
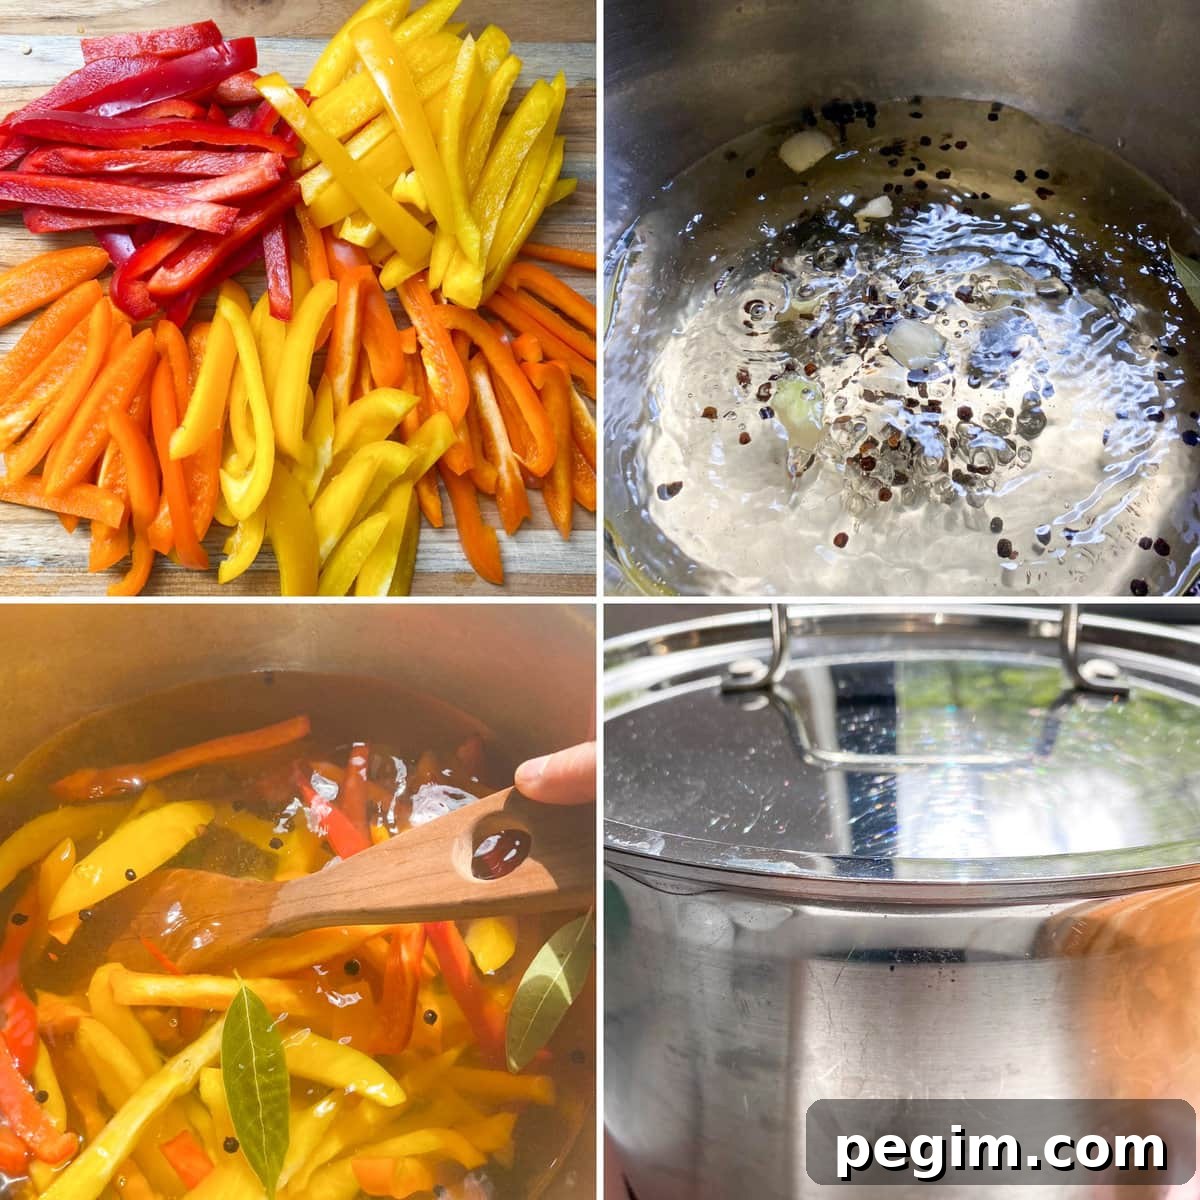
- Prepare the peppers: Wash and slice peppers into roughly 3-inch (7.5 cm) strips. Remove seeds if you want milder jars.
- Make the brine: Combine about half the vinegar called for with cold water in a large pot. Add peeled garlic and bay leaves, bring to a boil over medium-high heat, then stir in the salt until dissolved.
- Par‑cook the peppers: Add the sliced peppers to the hot brine and stir for about a minute. Turn off the heat, cover the pot, and let the peppers sit for 10–12 minutes; they should be tender yet still crisp.
- Dry the peppers: Drain the peppers in a colander and spread them in a single layer on a clean kitchen towel. Pat dry with paper towels so excess liquid is removed before jarring.
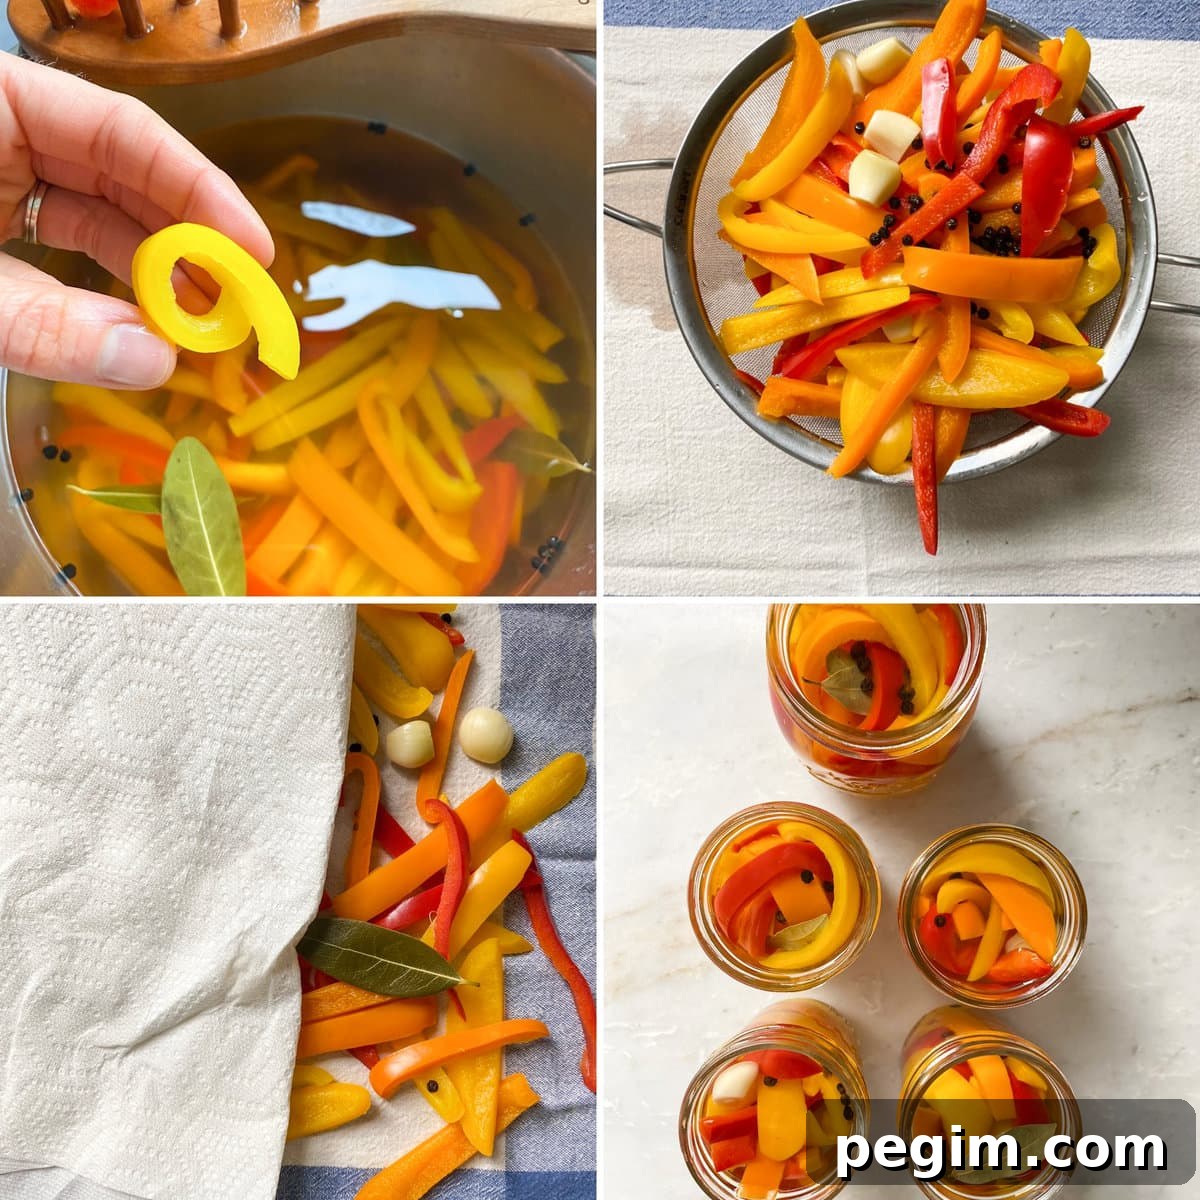
- Pack the jars: Place peppers into sterilized jars along with a few peppercorns, bay leaves and garlic cloves. Pack them snugly but without crushing.
- Cover with vinegar: Pour the remaining vinegar into each jar until the peppers are fully submerged. Remove any trapped air bubbles with a clean utensil or a toothpick. Wipe rims and secure lids tightly.
- Cure the pickles: Store the sealed jars in a cool, dark place or refrigerator for best flavor. Allow at least 1–2 weeks before tasting, and ideally 30 days for a fully developed flavor. Once opened, keep jars refrigerated and ensure peppers remain submerged; a thin layer of olive oil on top can help seal them and reduce discoloration.
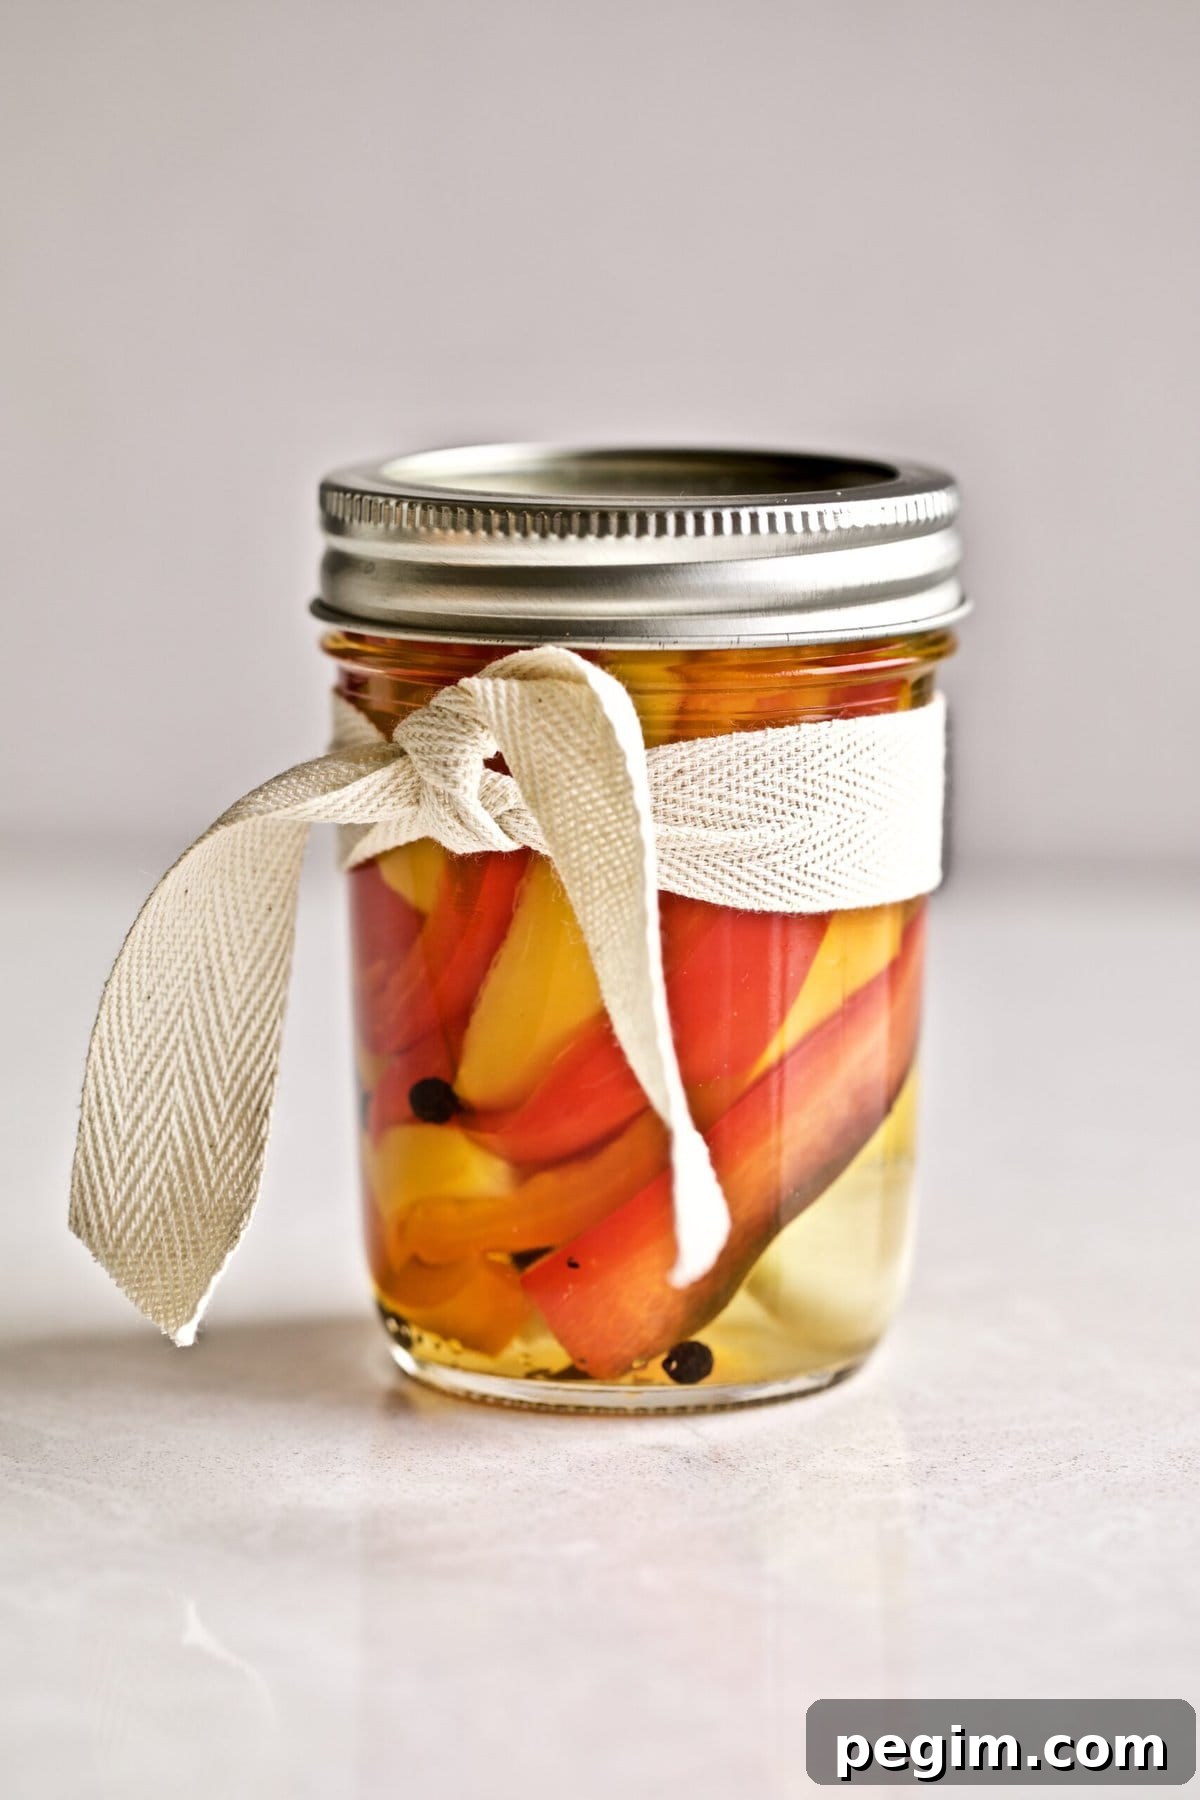
- Serve and enjoy: Use these pickled peppers as part of an antipasto platter, over sandwiches, on pizza, or alongside grilled meats and fish. They add instant acidity and color to many dishes.
Italian Pickled Peppers FAQs
Clean and slice the peppers, par‑boil them in a vinegar, water and spice mixture, drain and dry, pack into sterilized jars with aromatics, cover with vinegar, seal and let cure. Follow safe sterilization steps to reduce contamination risk.
You can eat them after 1–2 weeks, but flavor improves over time. For best taste, allow about 30 days of curing. After opening, refrigerate and consume within several weeks, keeping peppers submerged in the liquid or a thin layer of oil.
Properly sealed and stored, they remain good for months unopened. Once opened and refrigerated, they are typically best consumed within two months while kept submerged and handled with a clean utensil.
Use clean, sterilized jars and proper brine ratios. If you are unsure about home canning safety, refrigerate jars instead of shelf‑storing them. Incorrect canning steps can allow bacterial growth, so follow reliable sterilization practices.
Serving Suggestions
In Italy, pickled peppers are commonly served as an antipasto. They pair beautifully with cheese, cured meats and olives on a charcuterie board. Use them on Neapolitan-style pizza, tossed into pasta salads, on sandwiches with focaccia or crusty bread, or alongside roasted or grilled meats. They also make thoughtful homemade gifts when jarred attractively.
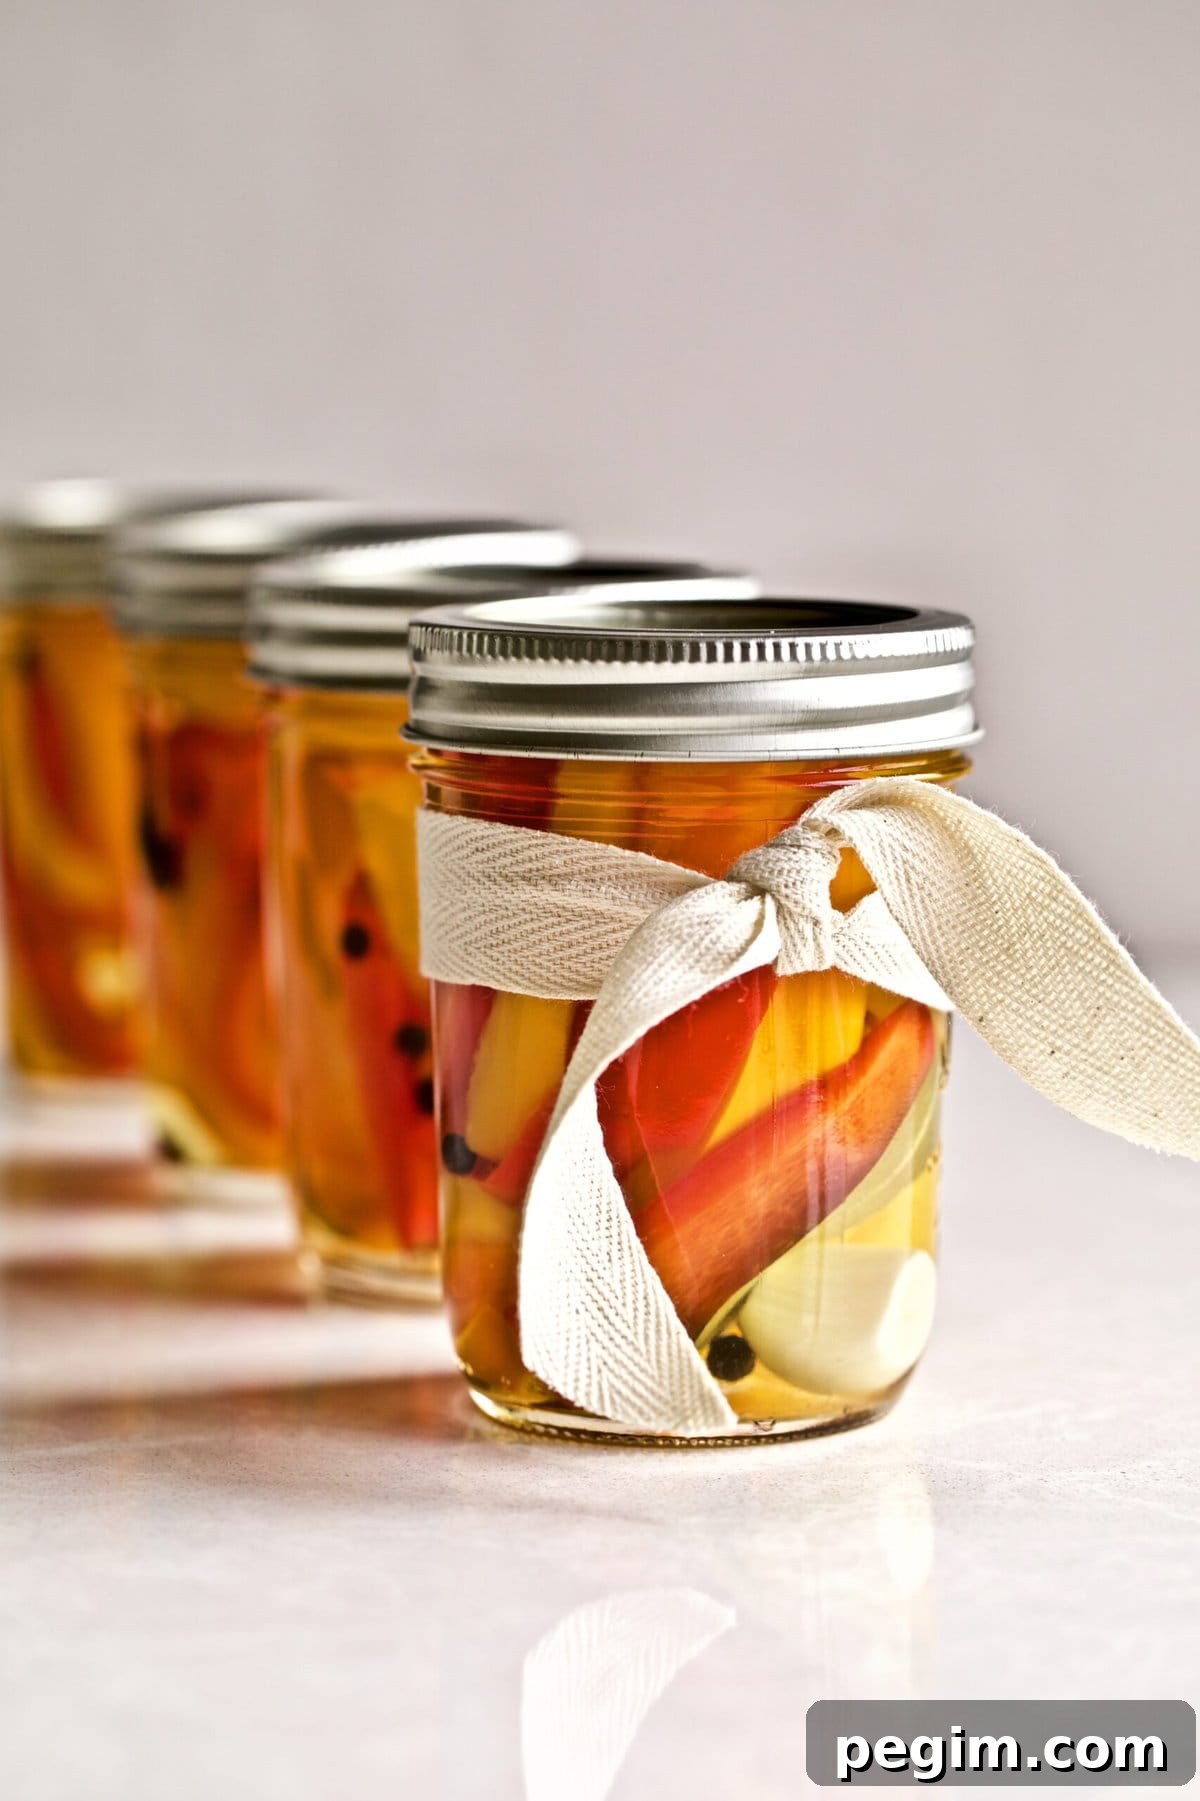
My Pro Tips
Expert Tips
- Any firm pepper variety works — match sizes for even packing and consistent texture.
- Allow jars to rest in a cool, dark place for 30 days for the best flavor; a minimum of 1–2 weeks is acceptable if you’re impatient.
- After opening, add a thin layer of olive oil on top to help keep peppers submerged and extend shelf life in the refrigerator. Always use a clean utensil to serve.
Other Italian Pepper Recipes You’ll Love
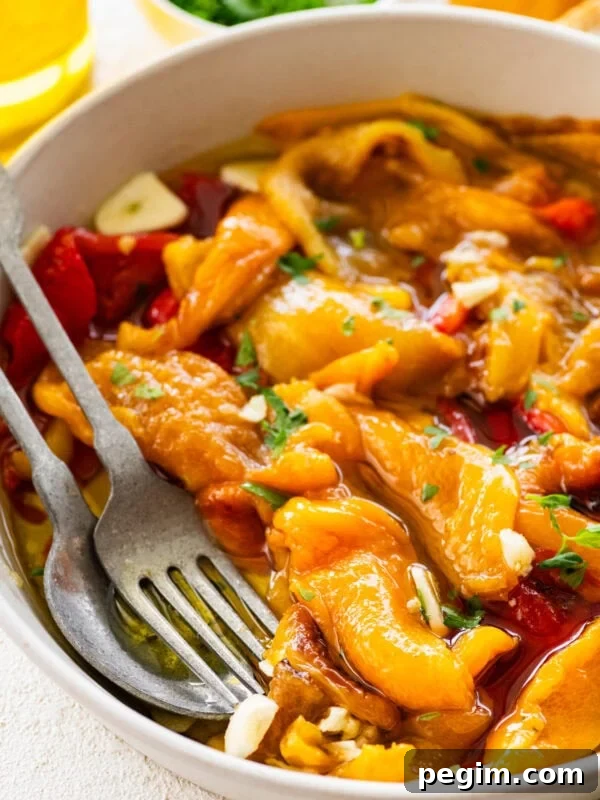
Roasted Peppers Recipe
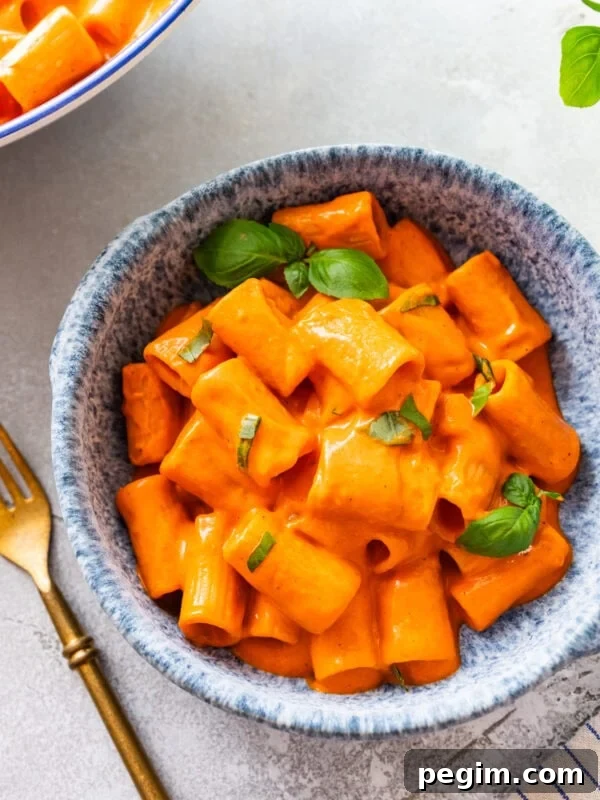
Roasted Red Pepper Pasta Sauce (Creamy)
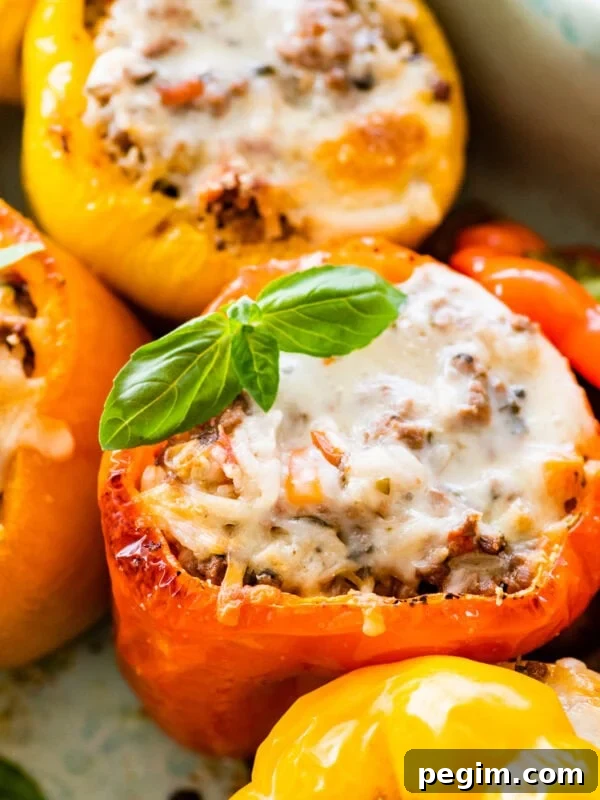
Italian Stuffed Peppers
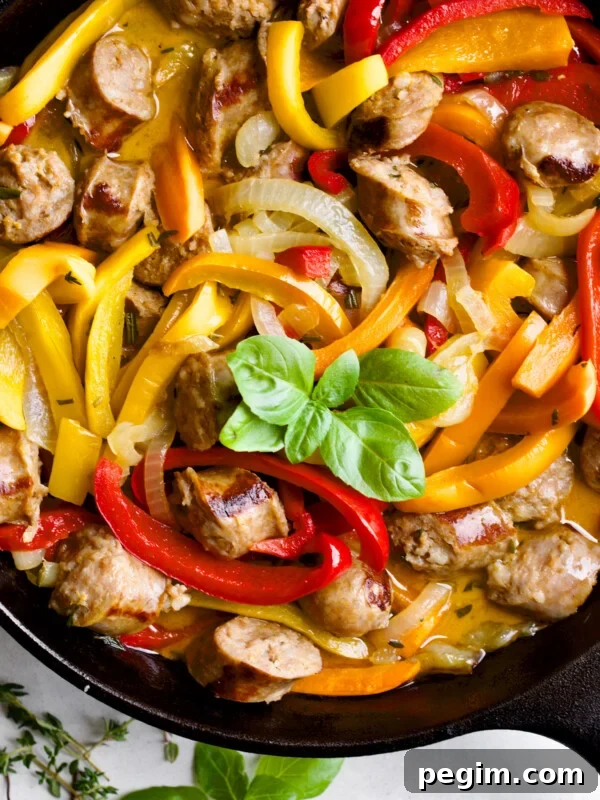
Italian Sausage and Peppers Skillet
If you make this recipe and enjoy it, please leave a rating and comment — it helps others discover these flavors and helps me improve the recipes.
Italian Pickled Peppers
6 jars
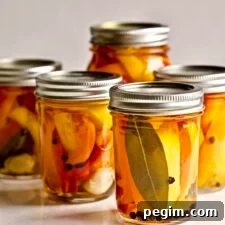
Equipment
-
Large pot
-
Mason jars (sterilized)
-
Colander
Ingredients
- 2 pounds bell peppers, cut into 3-inch strips
- 5 cups white vinegar
- 5 cups water
- 8 cloves garlic, peeled
- 5 bay leaves
- 1½ tablespoons coarse salt
- 1 tablespoon peppercorns
Instructions
Prepping
-
Sterilize the jars and lids. Cut peppers and set aside until ready to use.
Cooking the Peppers
-
Place half of the vinegar in a large pot, add the cold water, garlic and bay leaves. Bring to a boil over medium-high heat, then add the salt. Add sliced peppers and stir for 1–2 minutes.
-
Turn off the heat, cover the pot and let the peppers sit for about 10–12 minutes so they soften slightly but remain crisp.
-
Drain peppers in a colander and spread them in a single layer on a clean towel. Pat dry with paper towels as much as possible.
Assembling & Pickling
-
Fill sterilized jars with peppers, adding a few peppercorns, bay leaves and garlic to each jar.
-
Top each jar with the remaining vinegar so the peppers are fully submerged. Press down with a clean spoon, remove bubbles and tightly screw on lids.
-
Store jars in a cool, dark place for about 30 days for best flavor. You may taste earlier, after 1–2 weeks. After opening, refrigerate and keep peppers submerged; consume within a couple of months for optimal quality.
Notes
- Use any combination of sweet and hot peppers; keep pieces similar in size for even texture.
- Allow 30 days for the best flavor; jars are still fine to eat earlier but will taste less developed.
- After opening, add a little olive oil to the top to help keep peppers submerged and reduce oxidation; always use a clean utensil to avoid contamination.
Nutrition
Calories: 88kcal
Carbohydrates: 12g
Protein: 2g
Sodium: 1765mg
Vitamin C: 195mg
Nutrition information is approximate and should be used as a guideline.
Additional Info