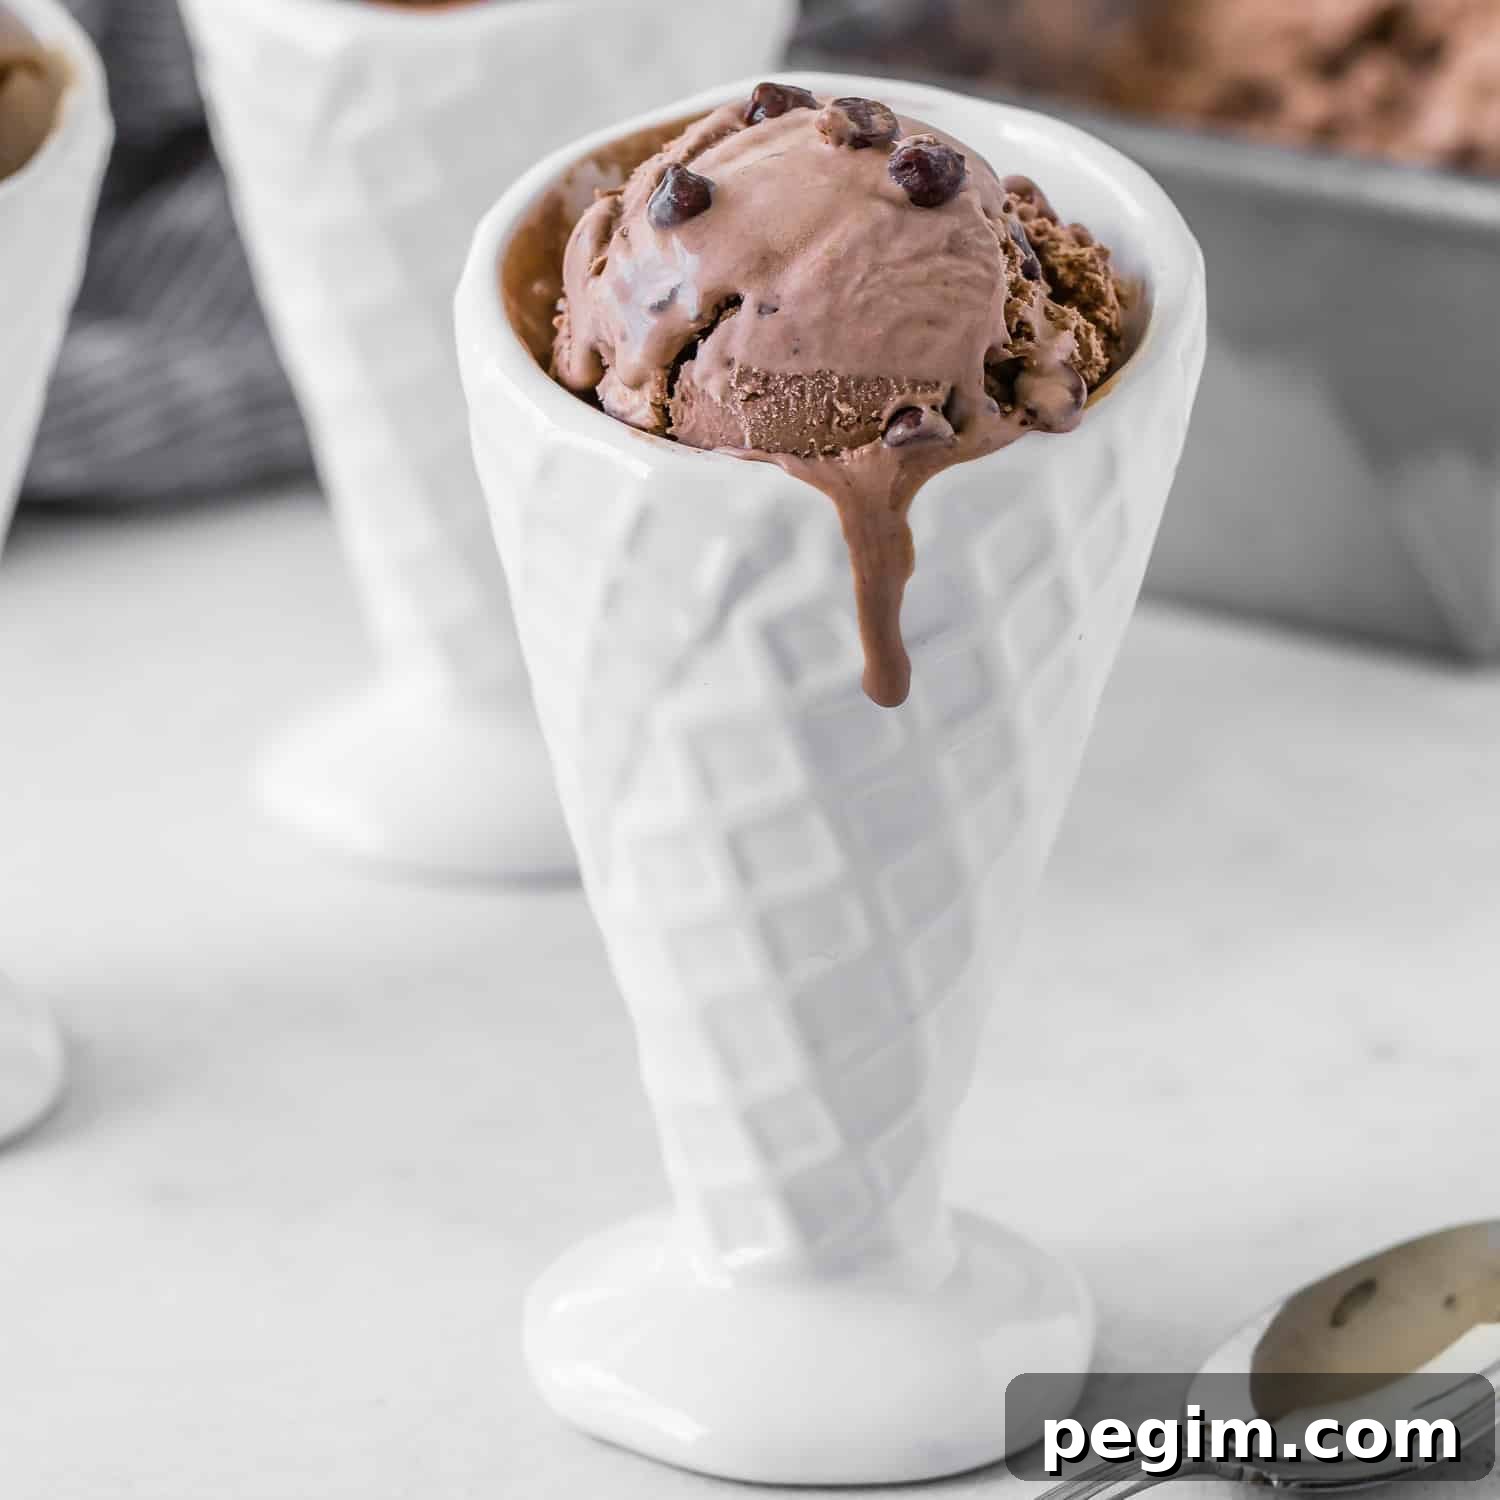
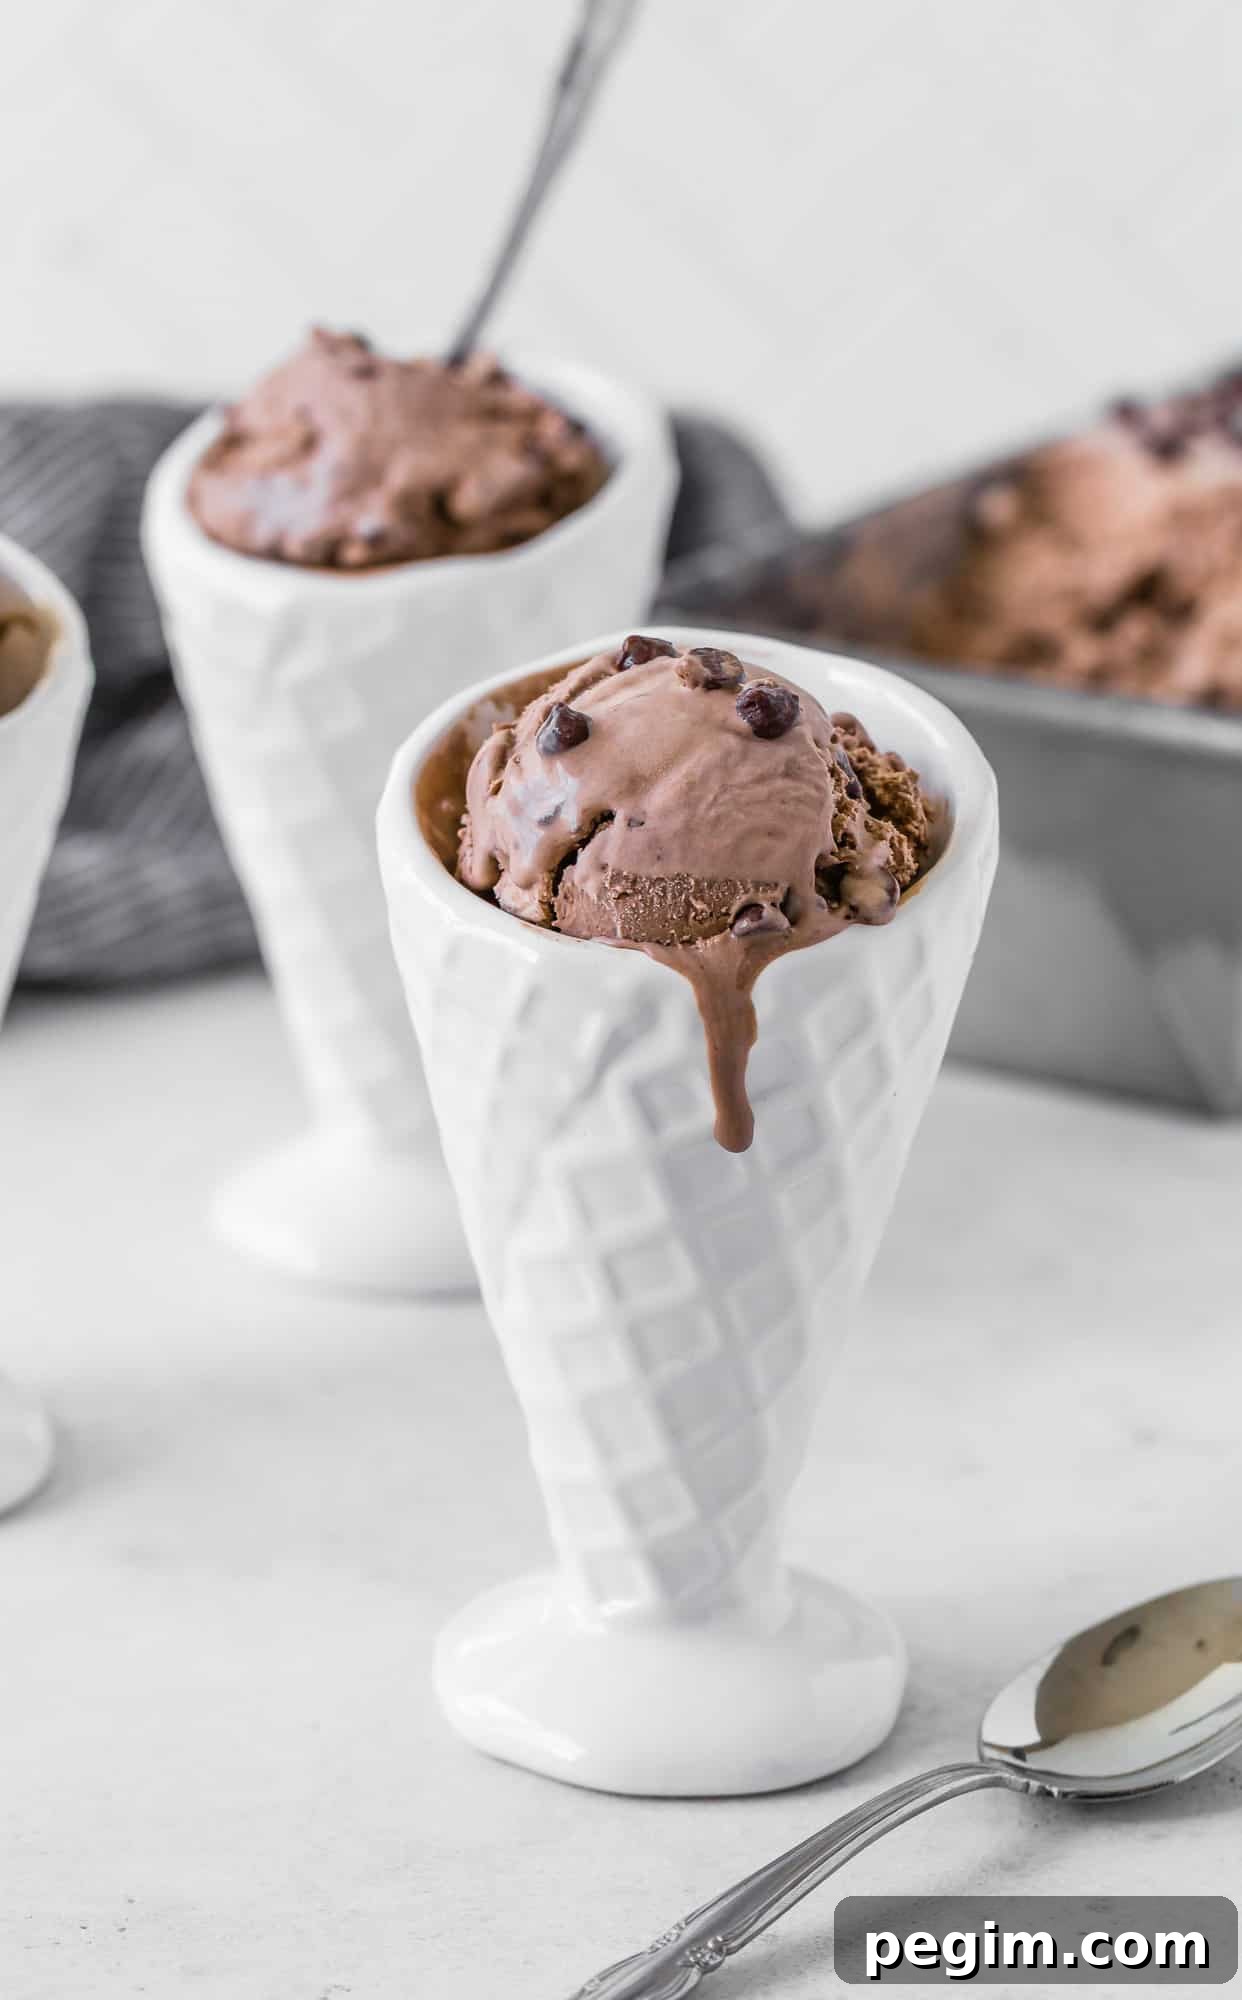
This smooth and creamy no-churn chocolate ice cream is deeply fudgy, ultra-creamy, and simple to make without an ice cream maker. Stir in chocolate chips for extra texture and double the chocolate flavor.
Recipe Overview
Why you’ll love it: Rich, homemade chocolate ice cream with a luxurious, scoopable texture — no ice cream maker required.
Time: 15 minutes prep, 6 hours freezing
Equipment: Electric mixer, large mixing bowl, 9-inch loaf pan (or similar)
Servings: About 10
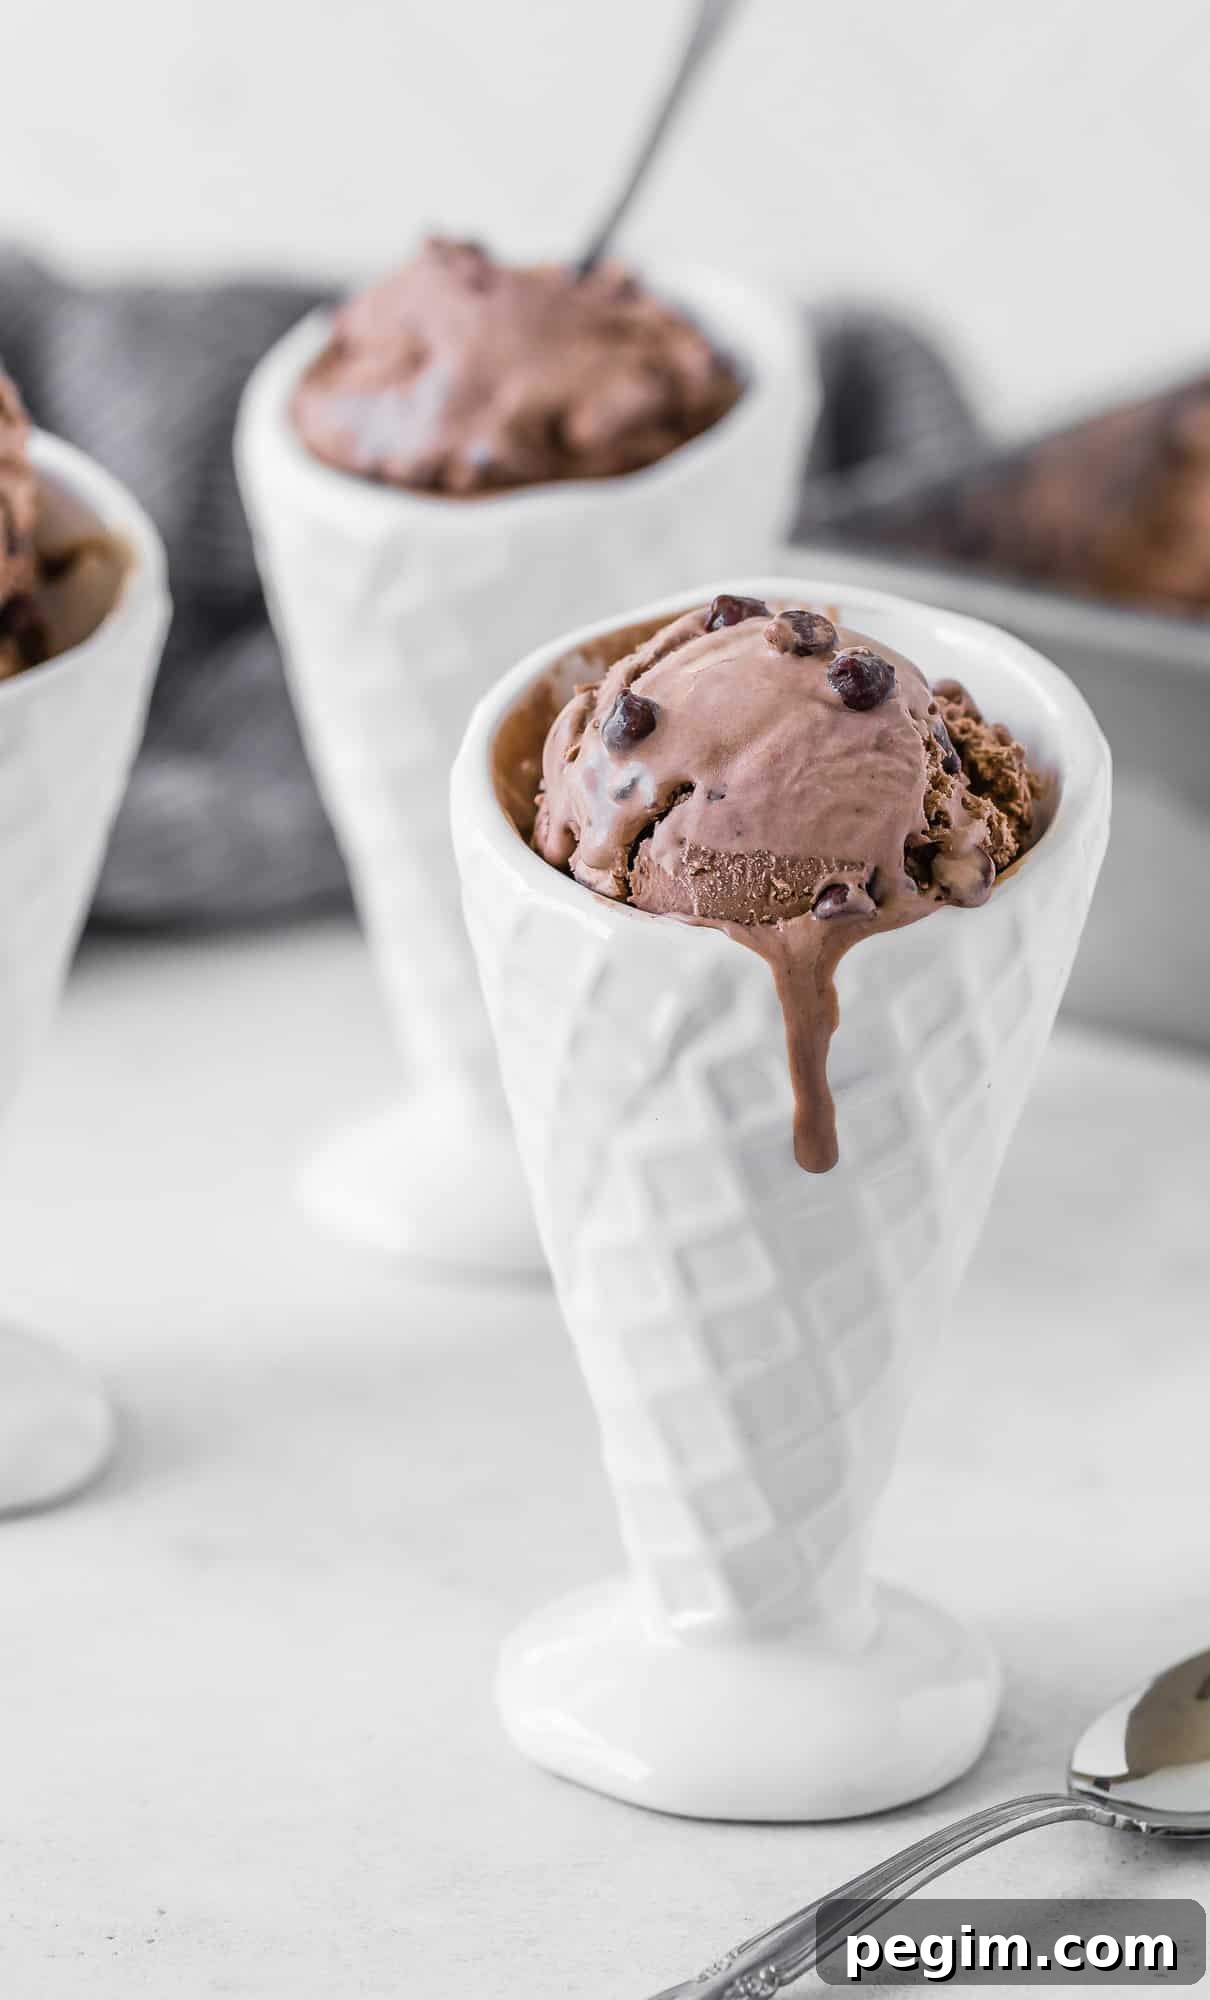
Easy Homemade Chocolate Ice Cream Recipe
When store-bought options aren’t ideal, making your own chocolate ice cream at home is fast, reliable, and customizable. This no-churn method uses just a few pantry staples to create a smooth, creamy frozen dessert with deep chocolate flavor. It’s an approachable recipe for busy cooks and a great way to control ingredients and texture.
Why This Recipe Works
This no-churn chocolate ice cream gets its rich texture from two simple principles: stable, whipped cream to create air and structure, and sweetened condensed milk to add sweetness and a smooth, scoopable consistency once frozen. The result is an ice cream that feels indulgent and artisan-made without any specialized equipment.
- Minimal ingredients: Four main ingredients yield a deeply chocolatey and creamy ice cream base.
- No machine needed: All you need is an electric mixer to whip the cream; freezing does the rest.
- Extra chocolate: Cocoa powder delivers the chocolate flavor, and optional mini chocolate chips add texture and pockets of melted chocolate in every bite.
What You’ll Need
Gather straightforward ingredients; the quality of the dairy and cocoa influences flavor and texture, so choose the best you can find.
- Sweetened condensed milk: The sweet, thick canned milk that provides sweetness and body. Do not substitute evaporated milk.
- Heavy cream: Use heavy cream (at least 36% milk fat) and keep it well chilled so it whips to stiff peaks.
- Unsweetened cocoa powder: Choose a good-quality cocoa for strong chocolate flavor; sift if clumpy.
- Pure vanilla extract: A small amount brightens the chocolate and rounds the flavor.
- Mini chocolate chips (optional): Folded into the base for texture and extra chocolate bites; reserve some for sprinkling on top.
How To Make Chocolate Ice Cream
Follow these simple steps for an easy, foolproof no-churn chocolate ice cream.
- Make the chocolate base: In a small bowl, whisk together the sweetened condensed milk, unsweetened cocoa powder, and vanilla until smooth and evenly combined. A few small lumps are fine; continue whisking until mostly smooth.
- Whip the cream: In a chilled large bowl, whip the cold heavy cream with an electric mixer on medium-high speed until it forms stiff peaks — about 2 to 4 minutes depending on your mixer. The cream should hold its shape when the beaters are lifted.
- Fold together: Gently fold the chocolate-condensed milk mixture into the whipped cream using a spatula. Use light strokes to preserve the air in the whipped cream so the final texture stays light and creamy.
- Add chocolate chips: Fold in mini chocolate chips, saving a handful to sprinkle on top before freezing if you like.
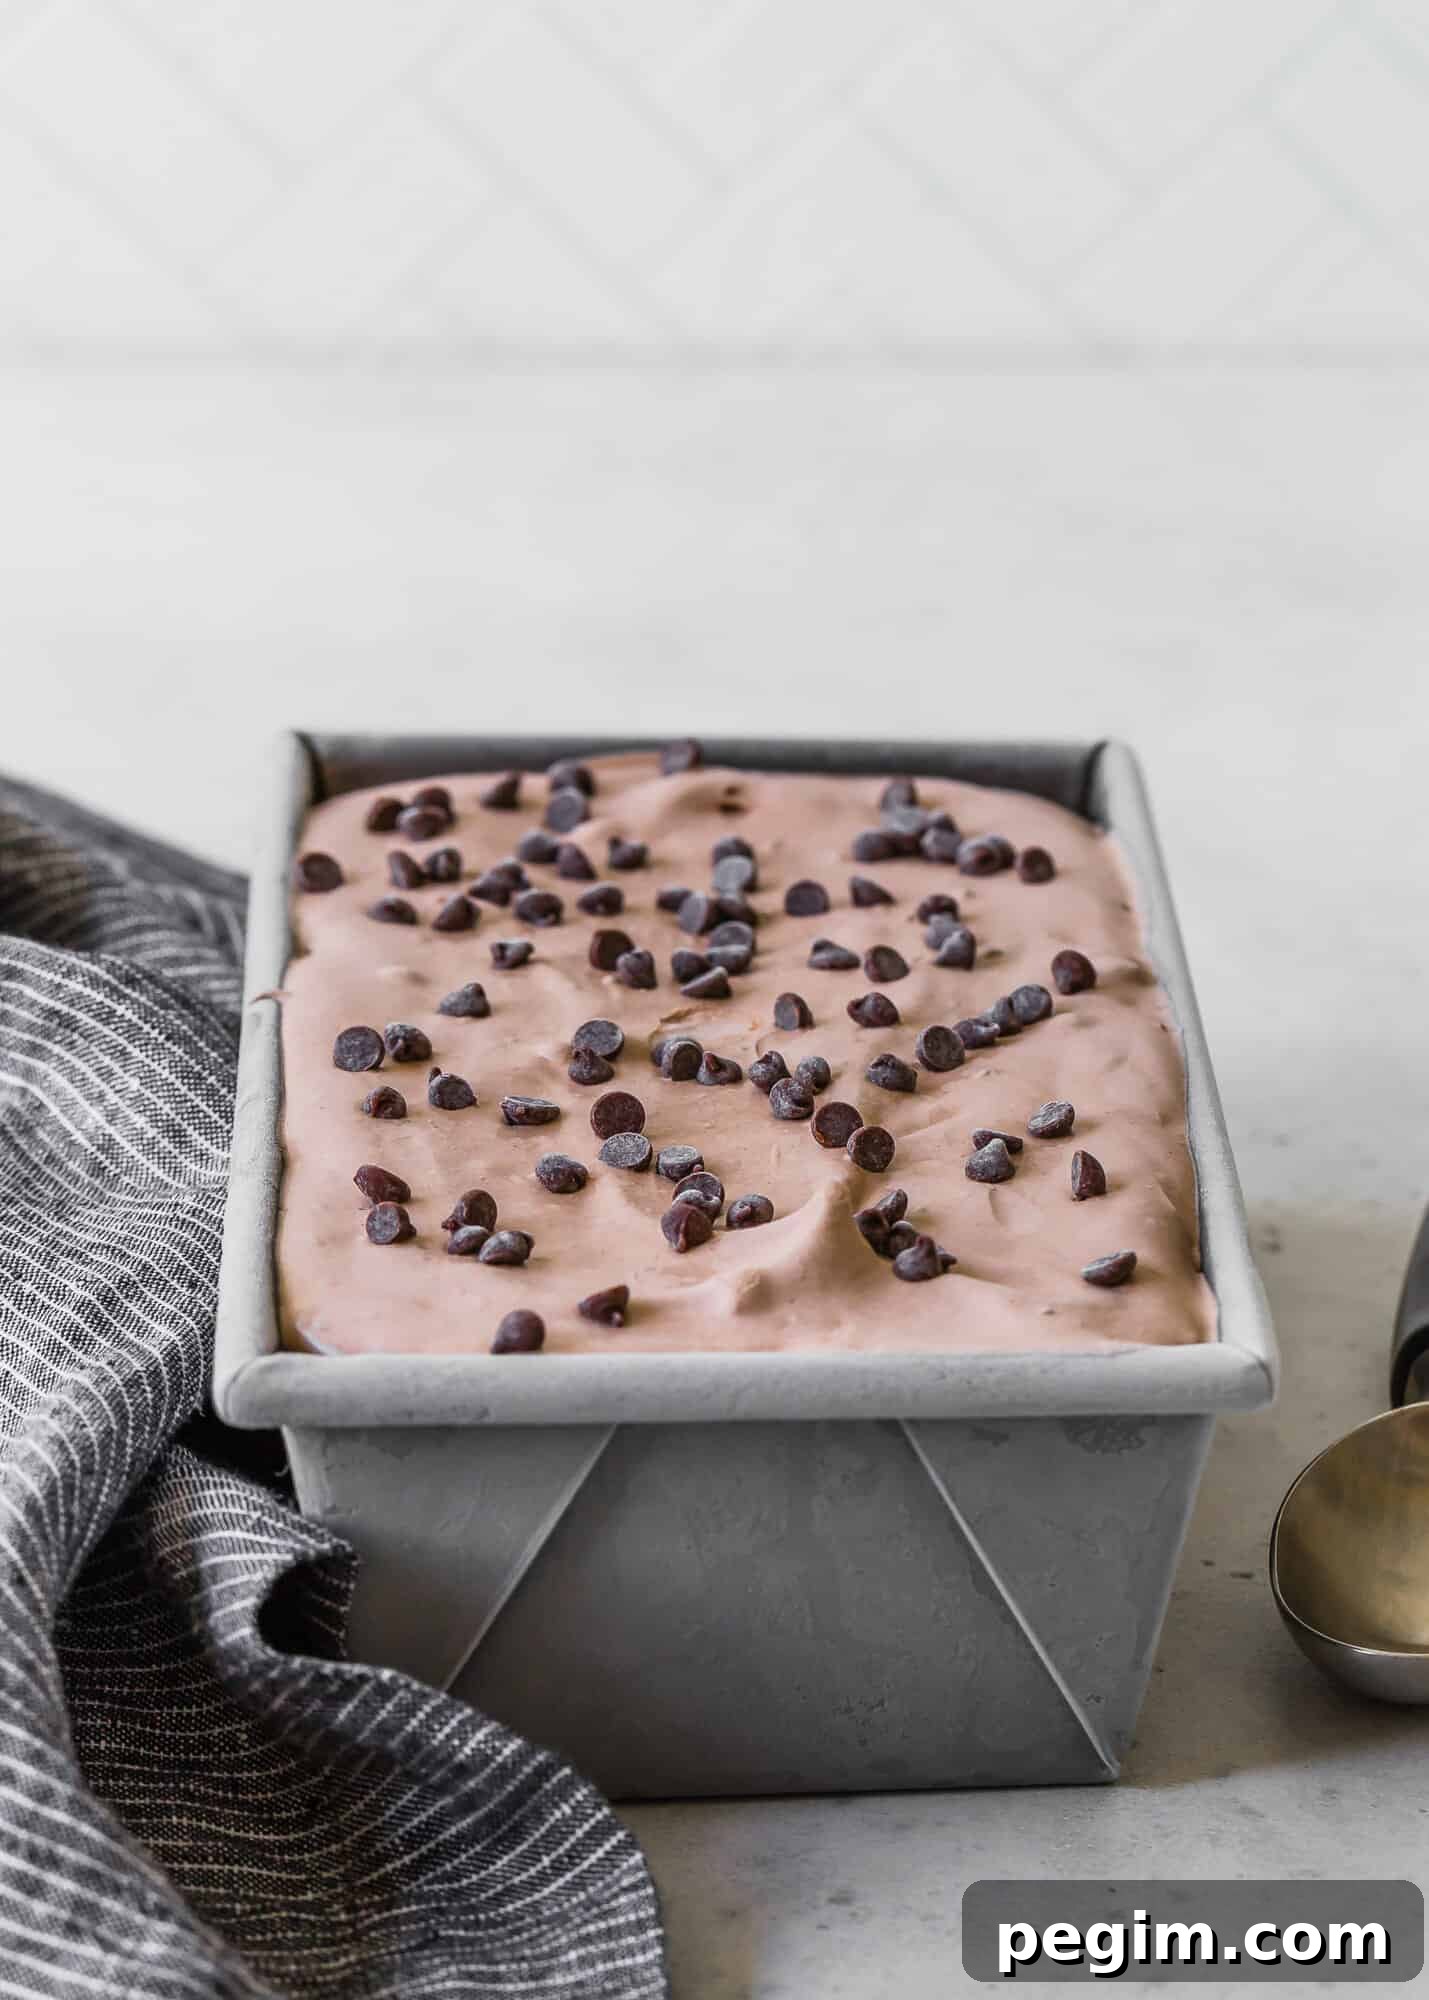
- Freeze: Spread the mixture into a 9-inch loaf pan, smooth the top, and cover with foil. Freeze until firm, at least 6 hours or overnight for best results.
Tips for the Best No-Churn Ice Cream
- Chill tools: Pop the mixing bowl and beaters in the fridge or freezer for 10–15 minutes before whipping the cream for faster, more stable peaks.
- Don’t overmix: Fold the chocolate mixture into the whipped cream gently to avoid deflating the air pockets that make the ice cream light.
- Choose the right container: A loaf pan is compact and freezer-friendly, producing a dense, scoopable block that slices or scoops cleanly.
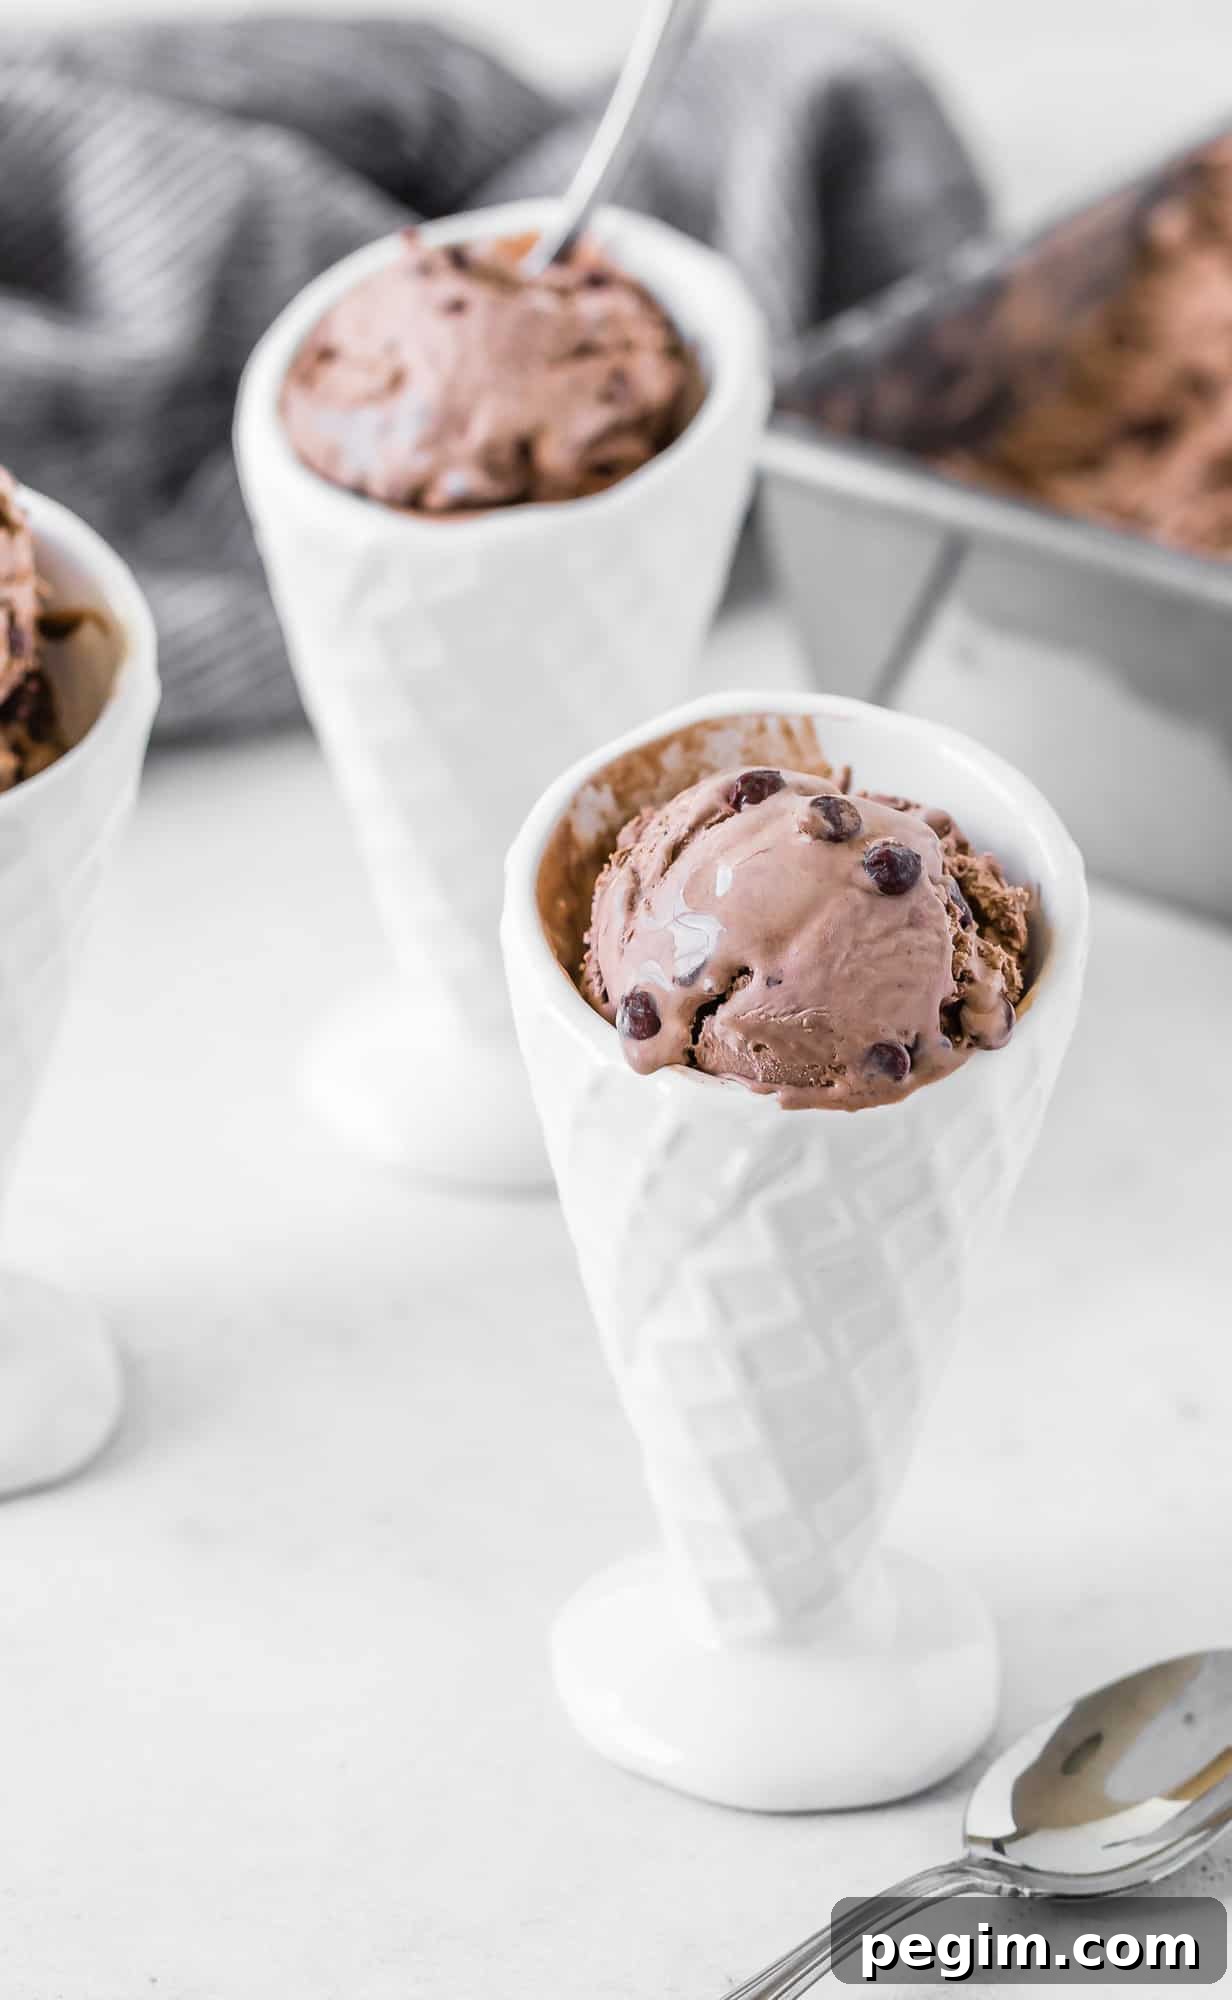
- Soften before serving: If the ice cream gets very firm in the freezer, remove it 8–10 minutes before scooping to make serving easier.
FAQs
No-churn ice cream skips the traditional churning step used in ice cream machines. Instead, whipped cream provides the aeration and structure, while sweetened condensed milk adds sweetness and body. The mixture is frozen until solid.
Using full-fat condensed milk and heavy cream is important for a creamy texture. Also, letting the ice cream sit at room temperature for a few minutes before scooping helps soften it. Storing it properly in an airtight container reduces freezer burn and extreme hardness.
Make This Recipe Your Own
This classic base is a great canvas for variations. Here are a few ideas to customize your chocolate ice cream:
- Rocky Road: Fold in mini marshmallows and chopped nuts if there are no nut allergies in your household.
- Fudge swirl: Drizzle room-temperature fudge sauce over the top once the base is in the pan, then lightly swirl for ribbons of fudge.
- Mocha: Add a tablespoon of instant espresso powder to the cocoa for a coffee-chocolate flavor.
- Mexican-style: Stir in a teaspoon of ground cinnamon and a pinch of cayenne for warm, spicy notes.
How to Store Homemade Chocolate Ice Cream
For the freshest flavor, store the ice cream airtight in the freezer for up to two months. To avoid freezer burn and make removal easier, line the loaf pan with parchment before freezing; once firm, lift the block out on the parchment and transfer it to a resealable container. Press a piece of plastic wrap or parchment directly against the surface of the ice cream before sealing to keep it fresh.
Homemade Chocolate Ice Cream (No Churn)
Ingredients
- 1 can (14 oz.) sweetened condensed milk
- 1/4 cup unsweetened cocoa powder
- 1 teaspoon pure vanilla extract
- 2 cups heavy cream, well chilled (36% milk fat)
- 1/2 cup mini chocolate chips (plus extra for topping if desired)
Instructions
- Pour the sweetened condensed milk into a small bowl. Whisk in the cocoa powder and vanilla until smooth and combined. Set aside.
- Pour the cold heavy cream into a large mixing bowl. Use a hand mixer or stand mixer on medium-high to whip the cream to stiff peaks, about 2–4 minutes.
- Gently fold the condensed milk mixture and chocolate chips into the whipped cream until just combined and silky. Avoid overmixing to preserve the airy texture.
- Spread the mixture into a 9-inch loaf pan, smooth the top, sprinkle with extra chocolate chips if desired, cover with foil, and freeze for at least 6 hours or until firm.
Notes
- Line the pan with parchment for easier removal and longer storage. Once frozen, lift the block out and transfer to a resealable container with a layer of plastic wrap or parchment on top to prevent freezer burn.
- To serve, remove from the freezer 8–10 minutes before scooping if the ice cream is very firm.
Nutrition (approx.)
Per serving: Calories ~340 kcal; Carbohydrates ~30 g; Protein ~5 g; Fat ~23 g. Nutrition is an estimate and will vary based on exact ingredients used.